This is an album stand I made for a co-worker. It is solid ash wood (except for the bottom of the box, which is plywood).
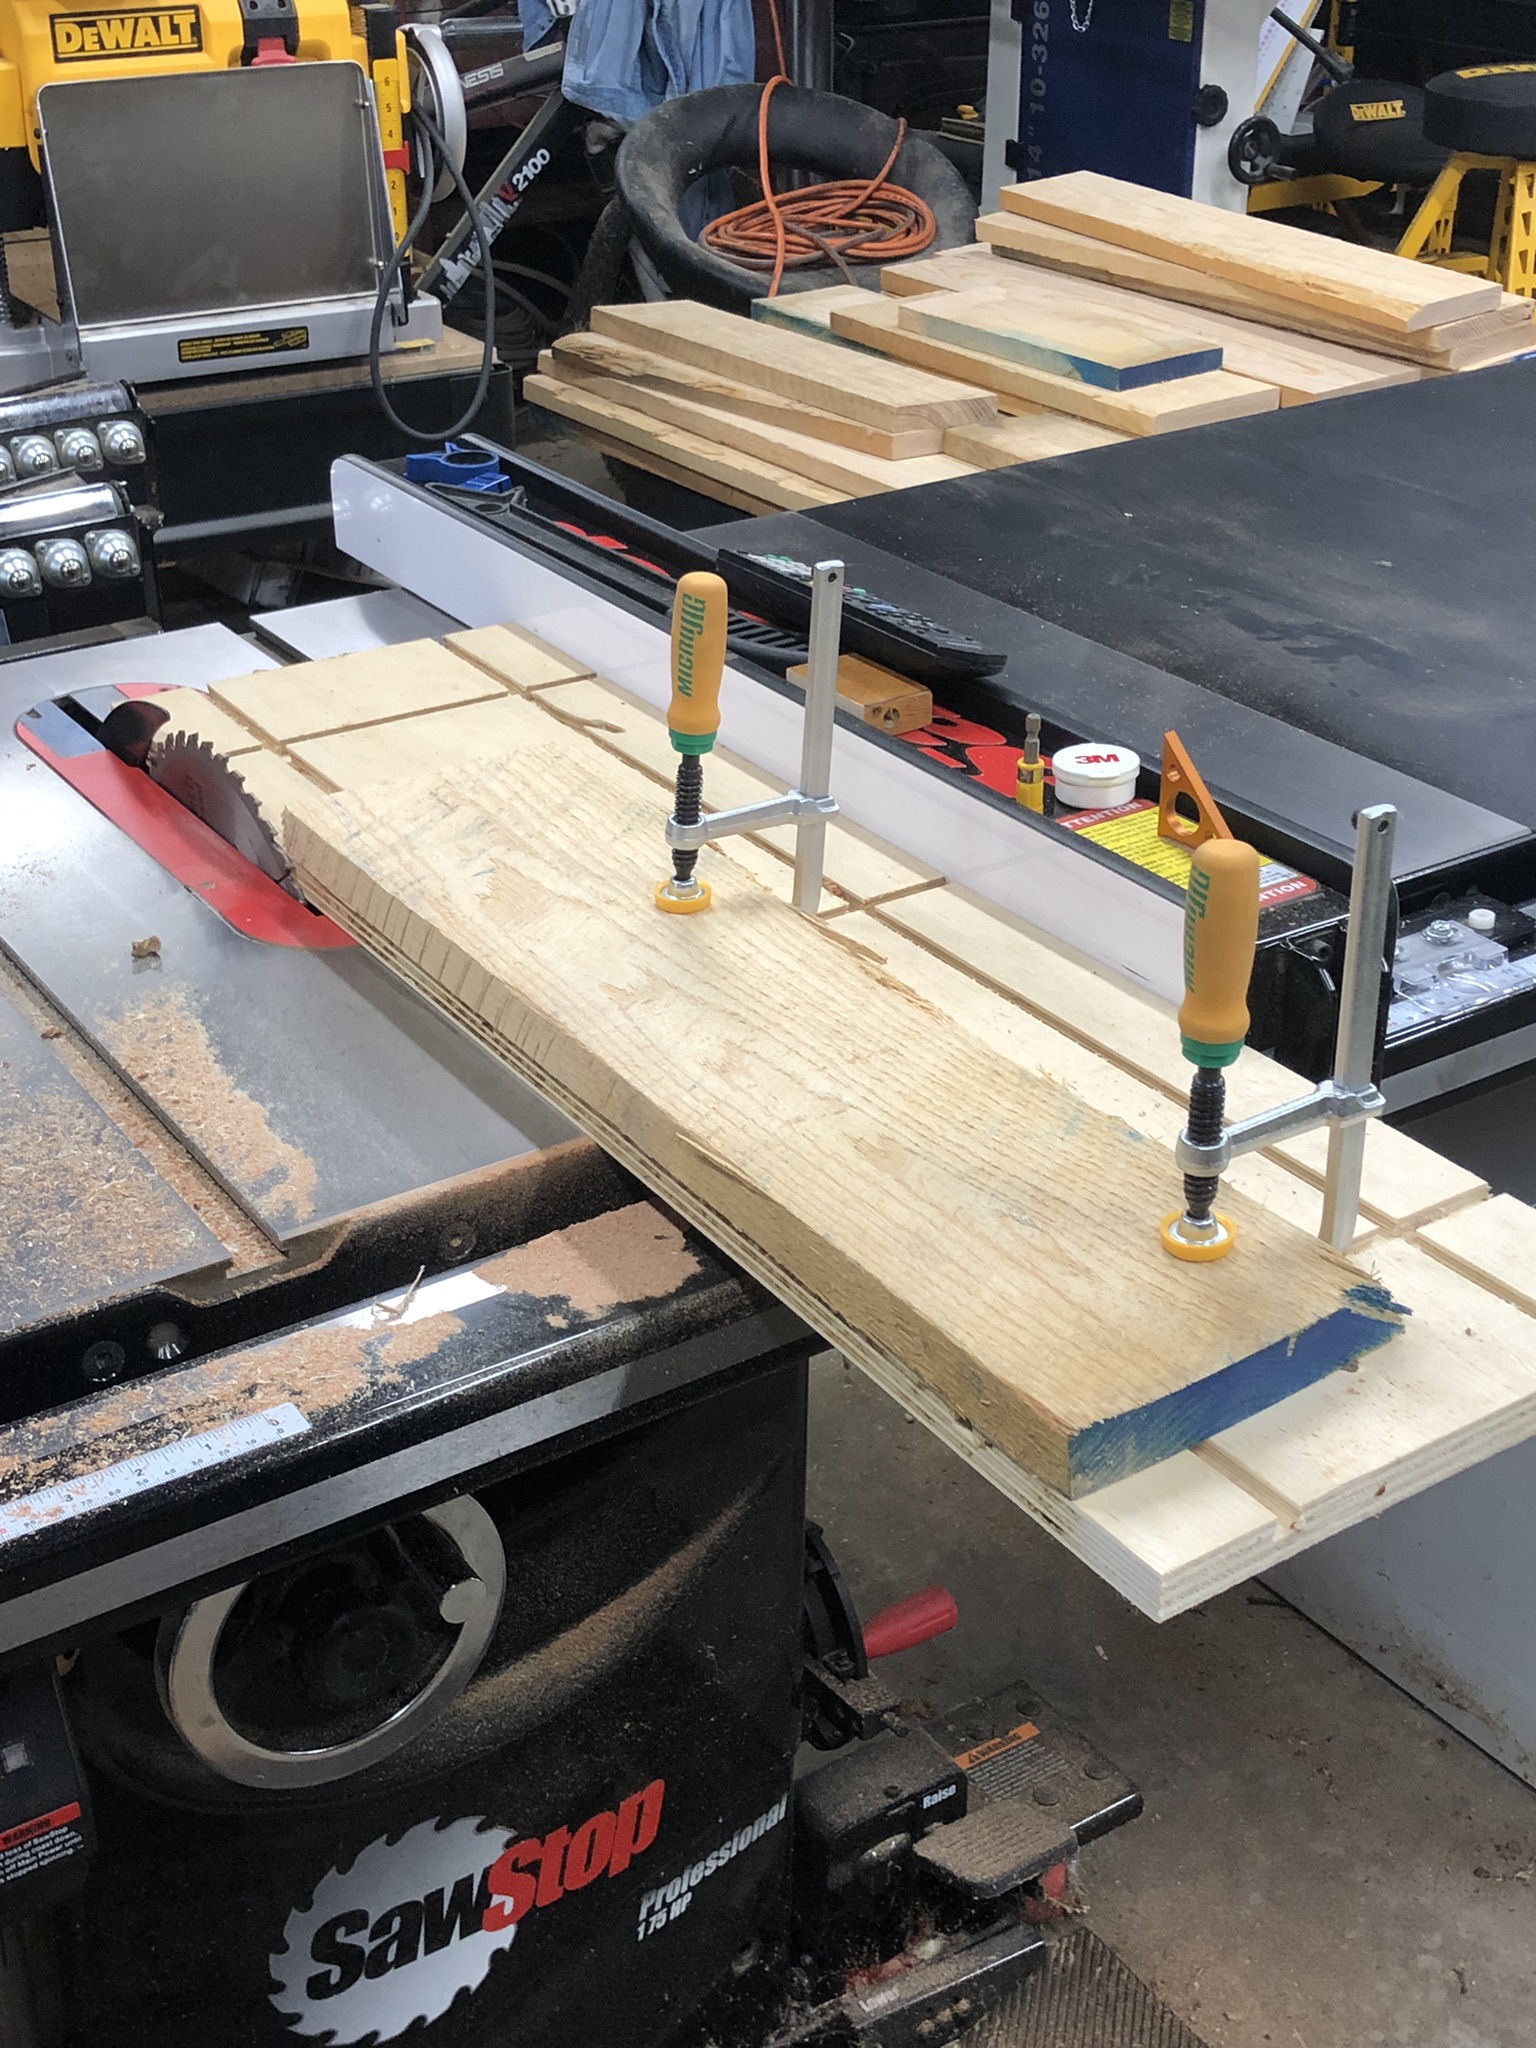
I don't have a jointer so I made this. It's a simple jointing sled made using some Microjig clamps and a piece of plywood. It will create a straight edge on the board that I can place against the fence of my saw when I go to cut it to width later.
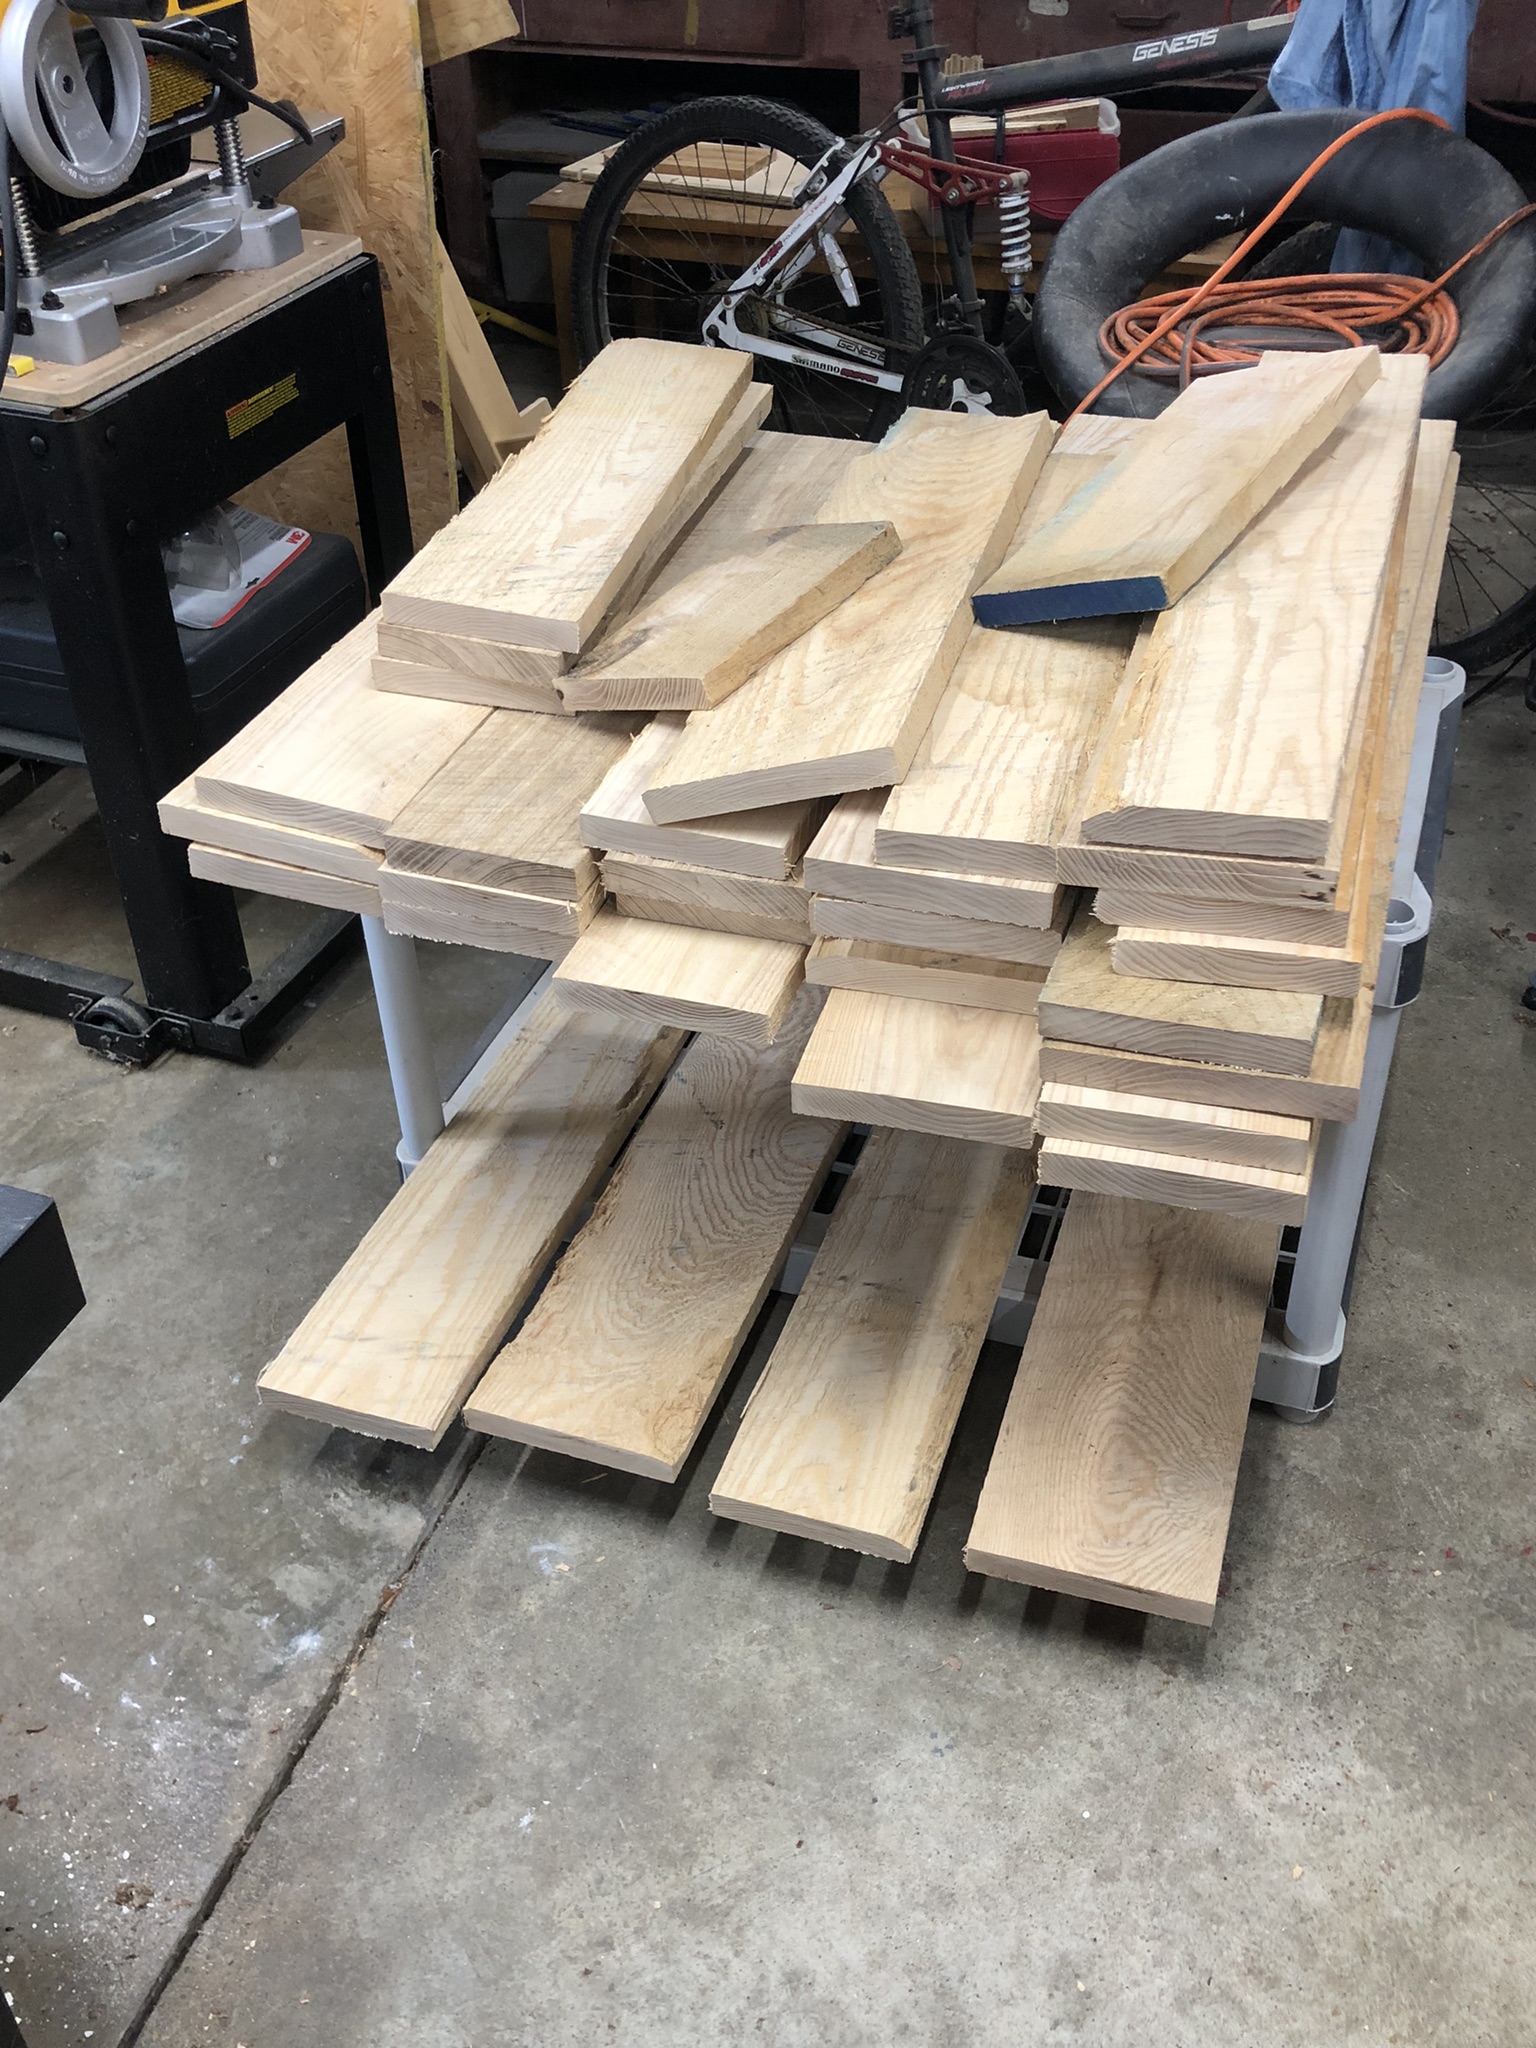
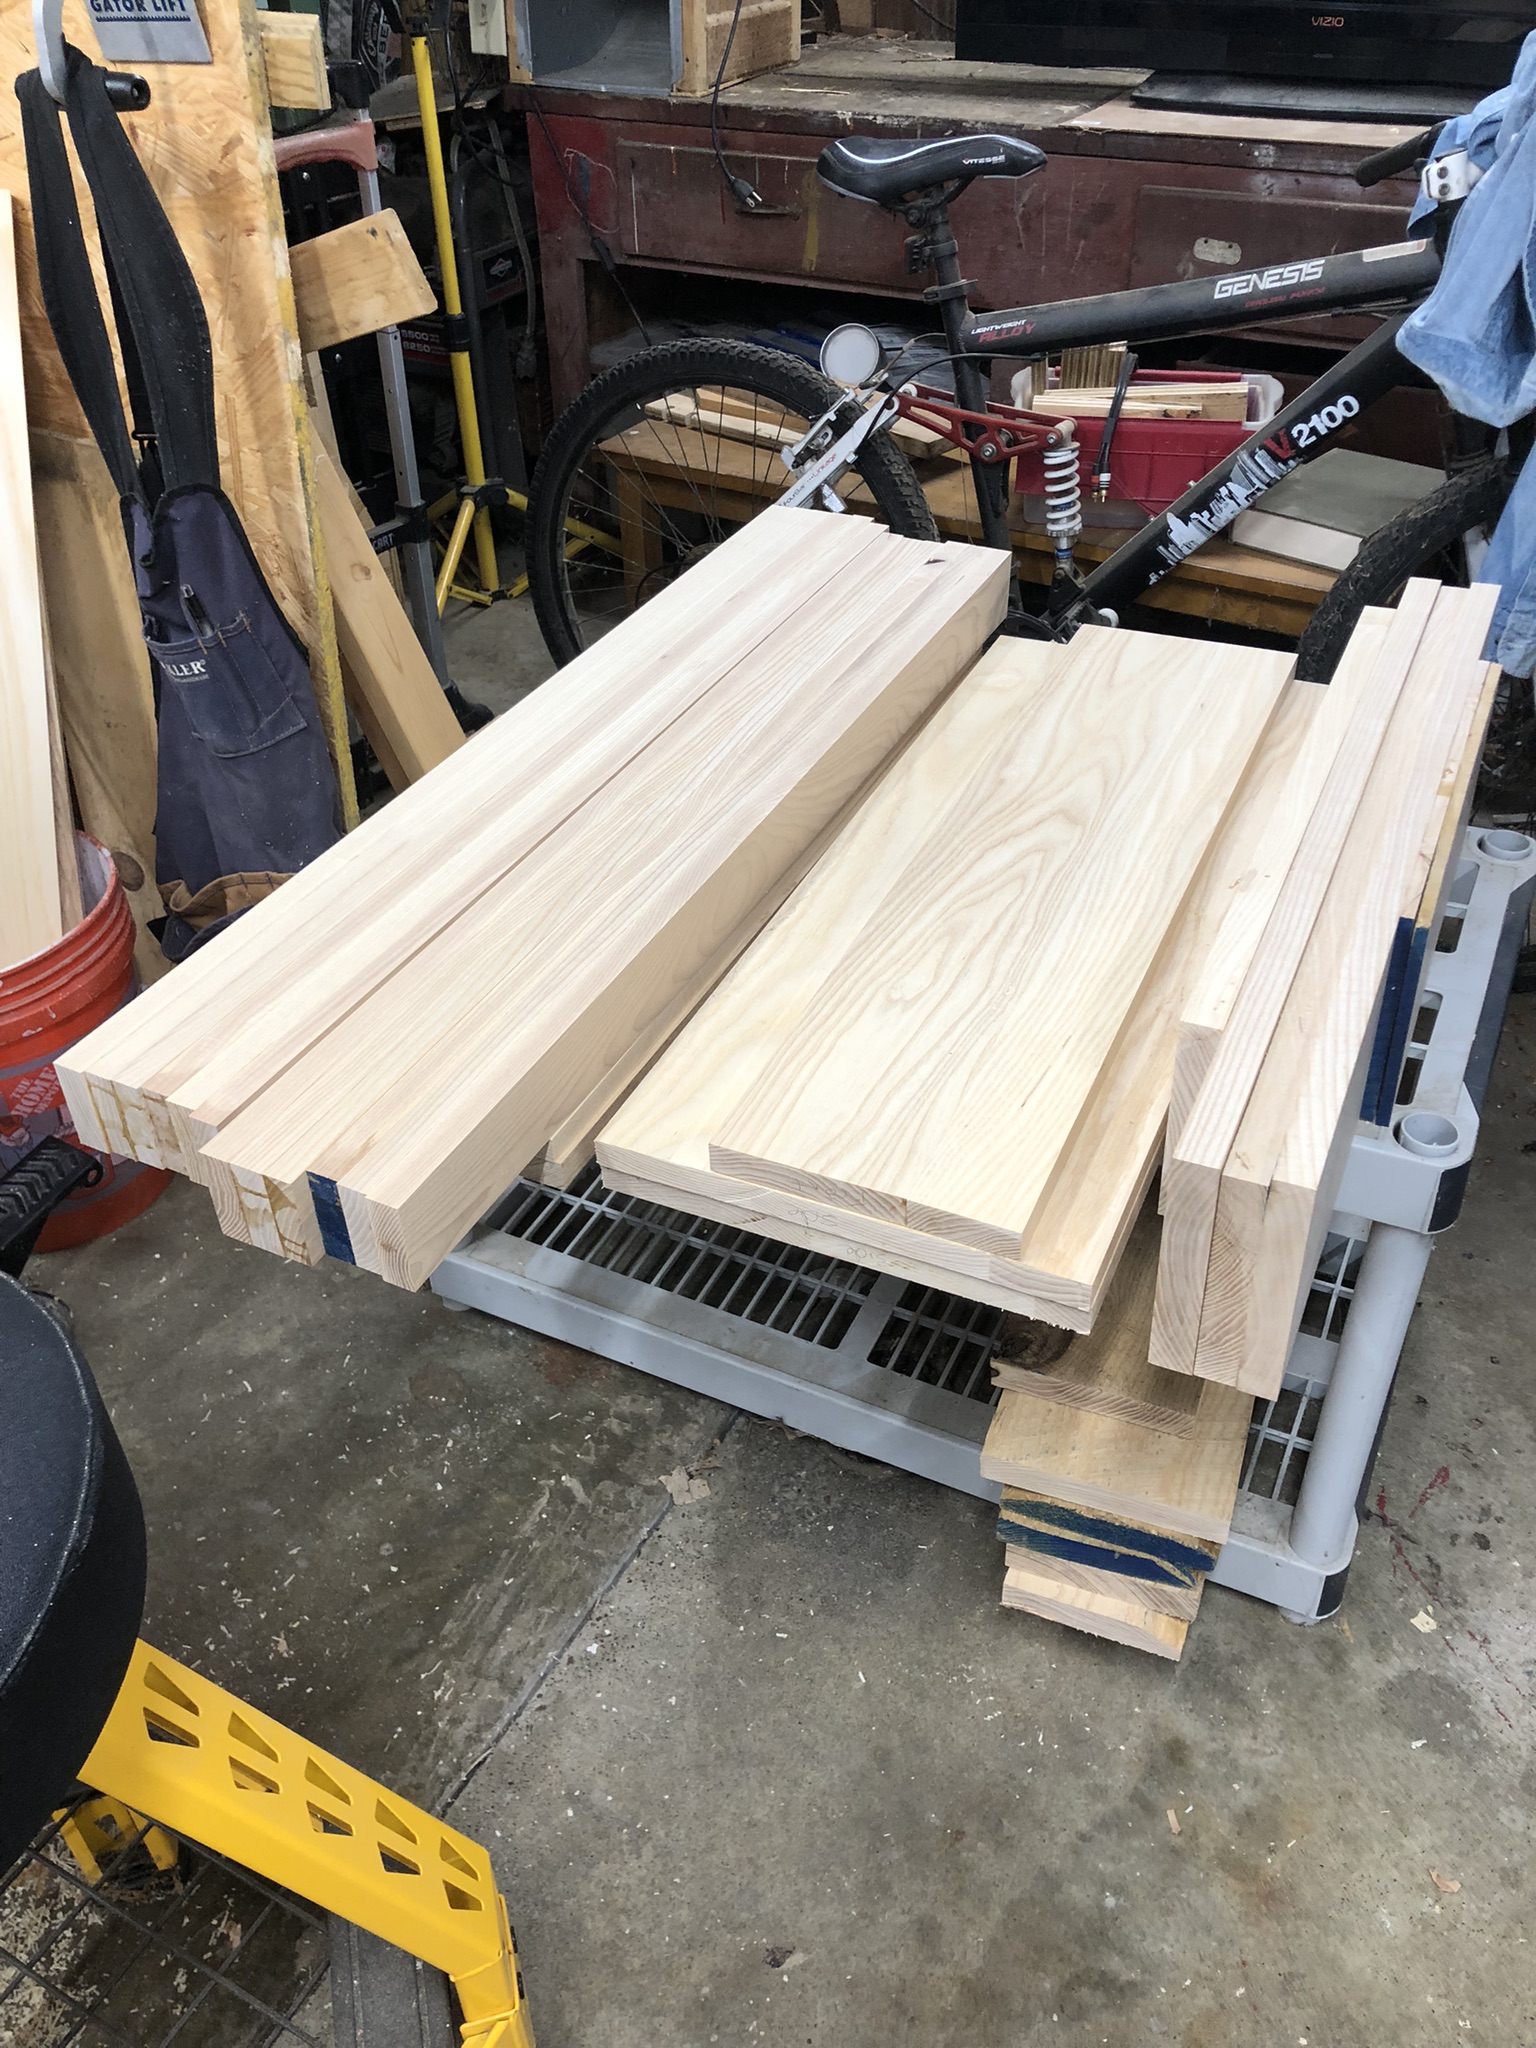
This image shows the rough boards that have been cut to length and are waiting to be planed.
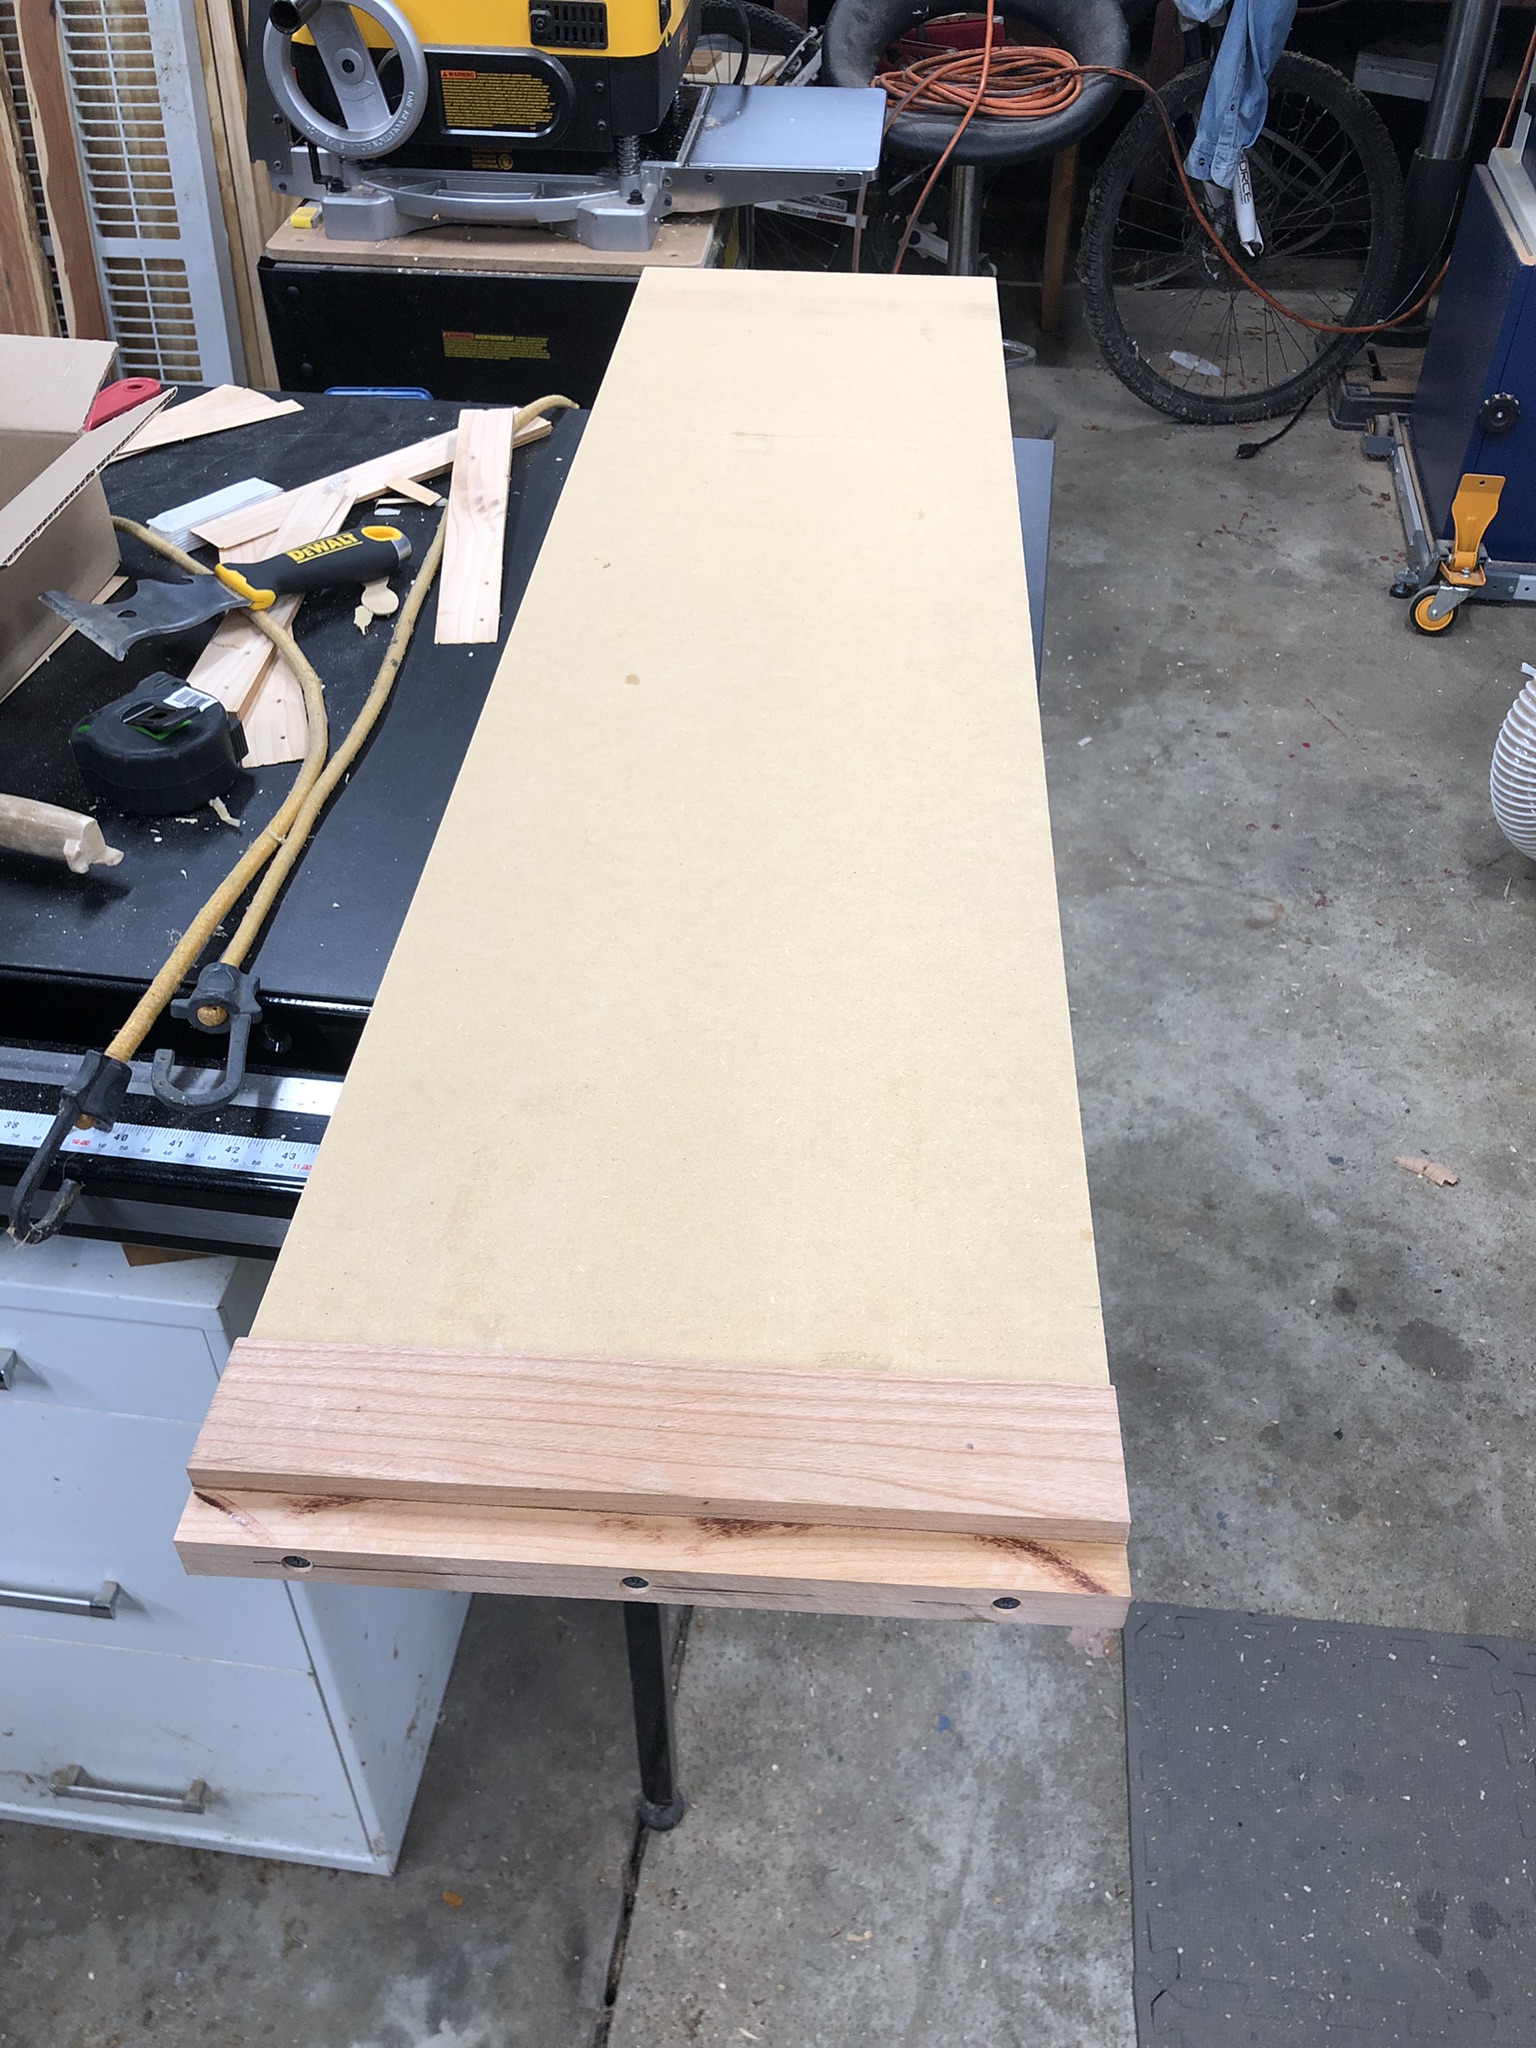
This is a planing sled to flatten warped boards if you don't have a jointer.
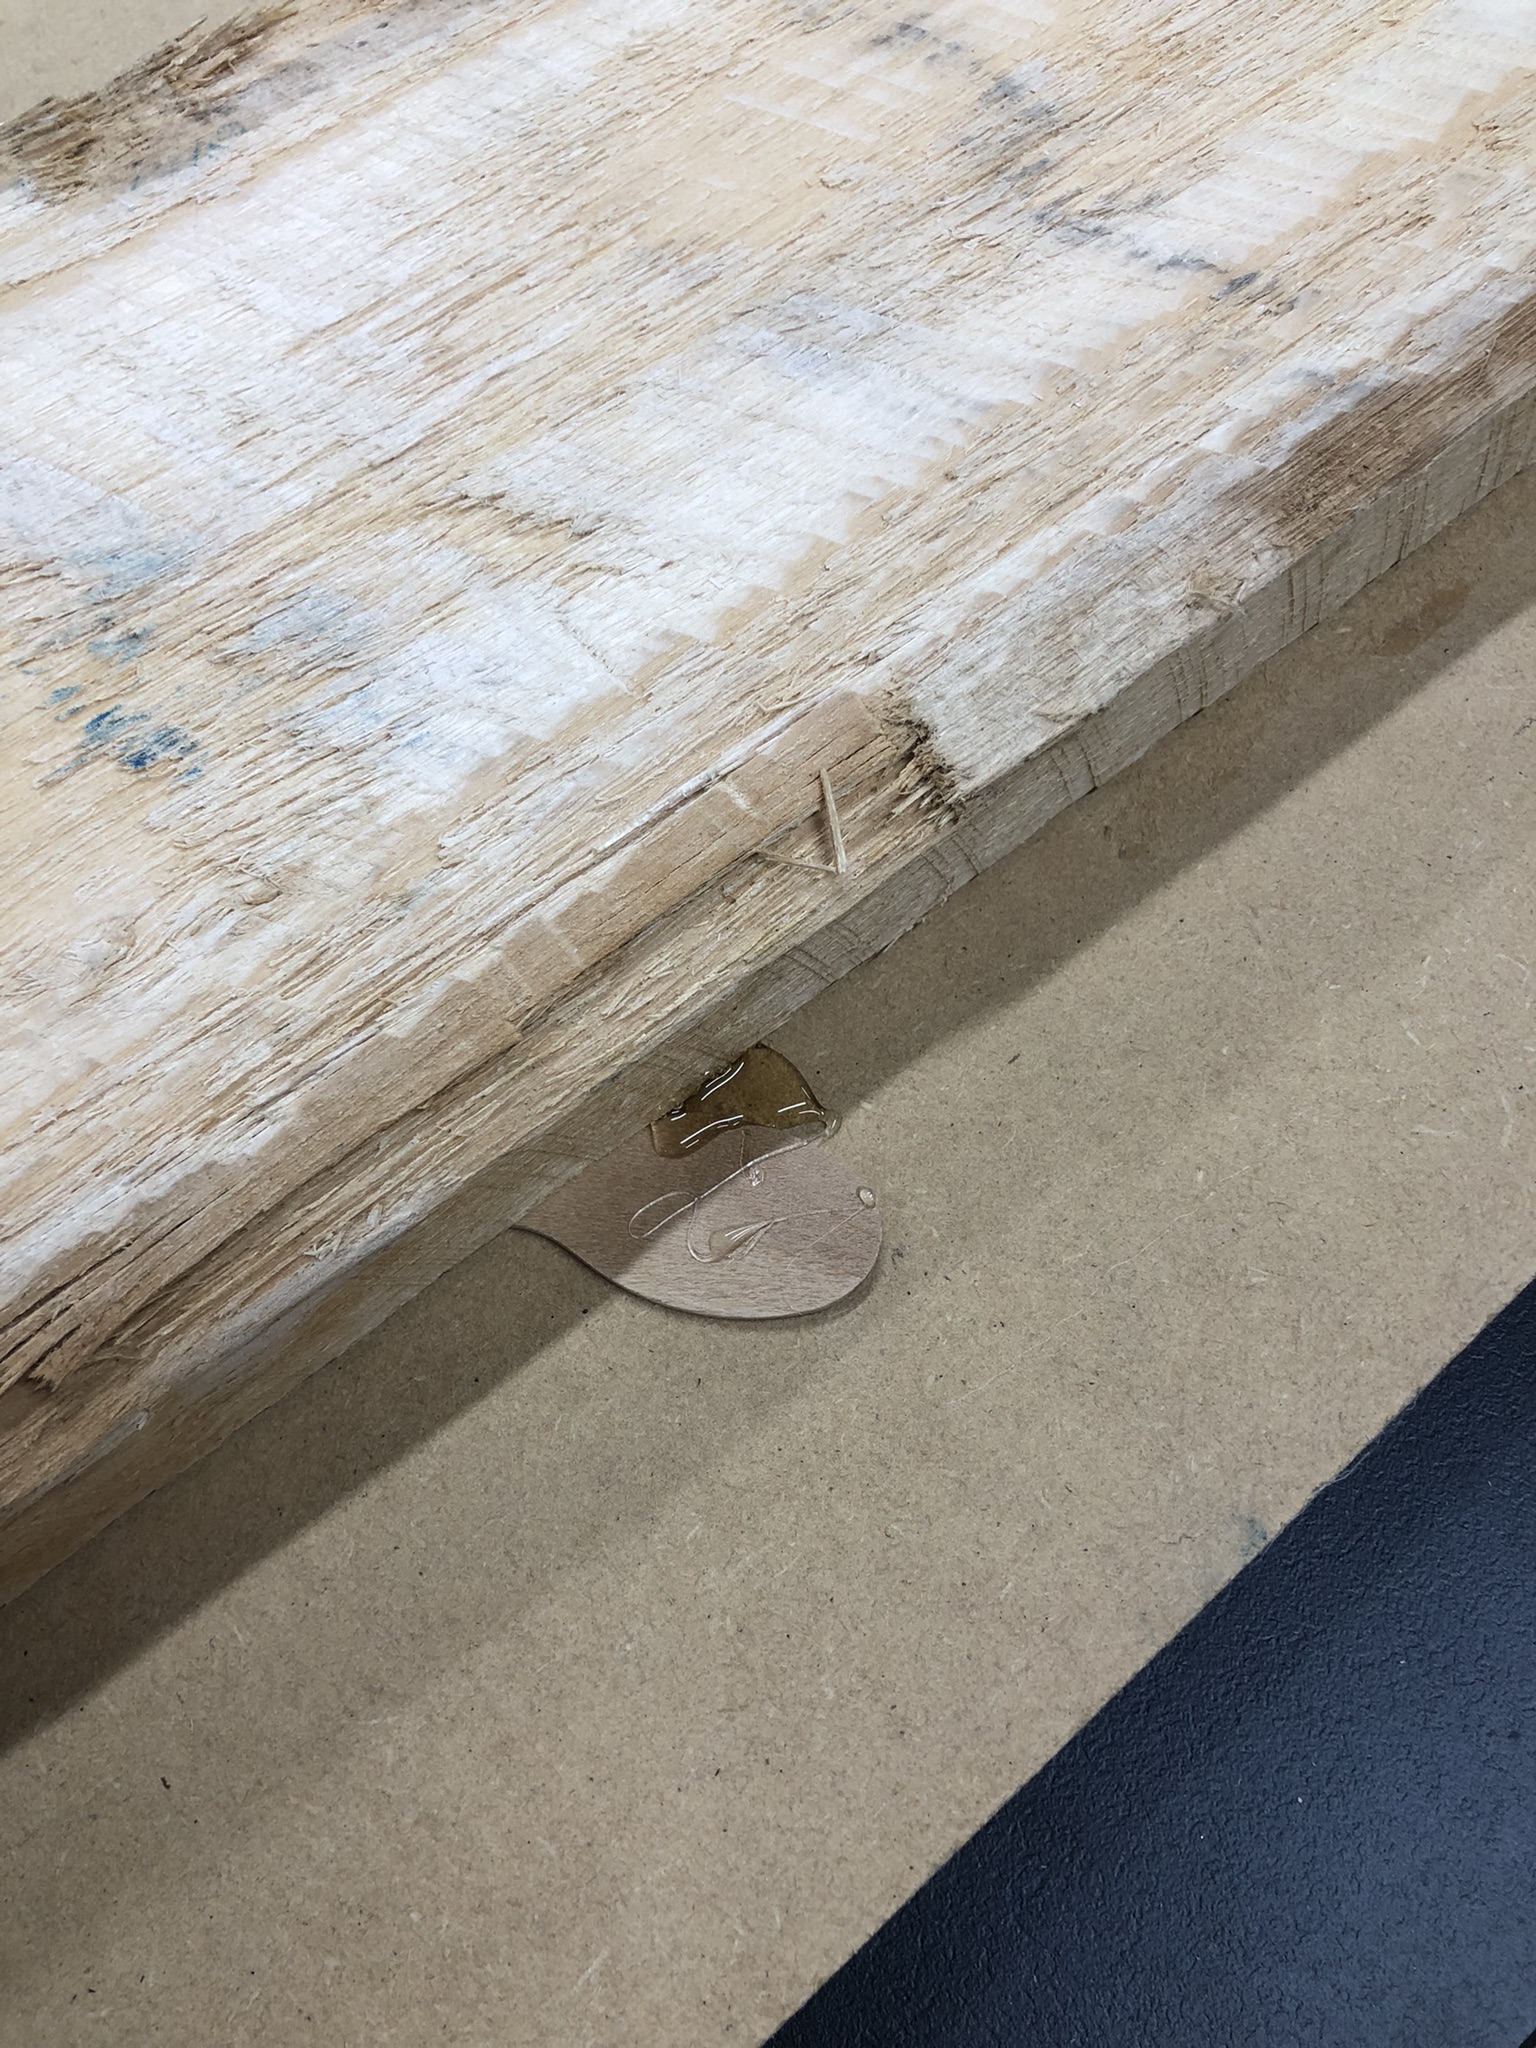
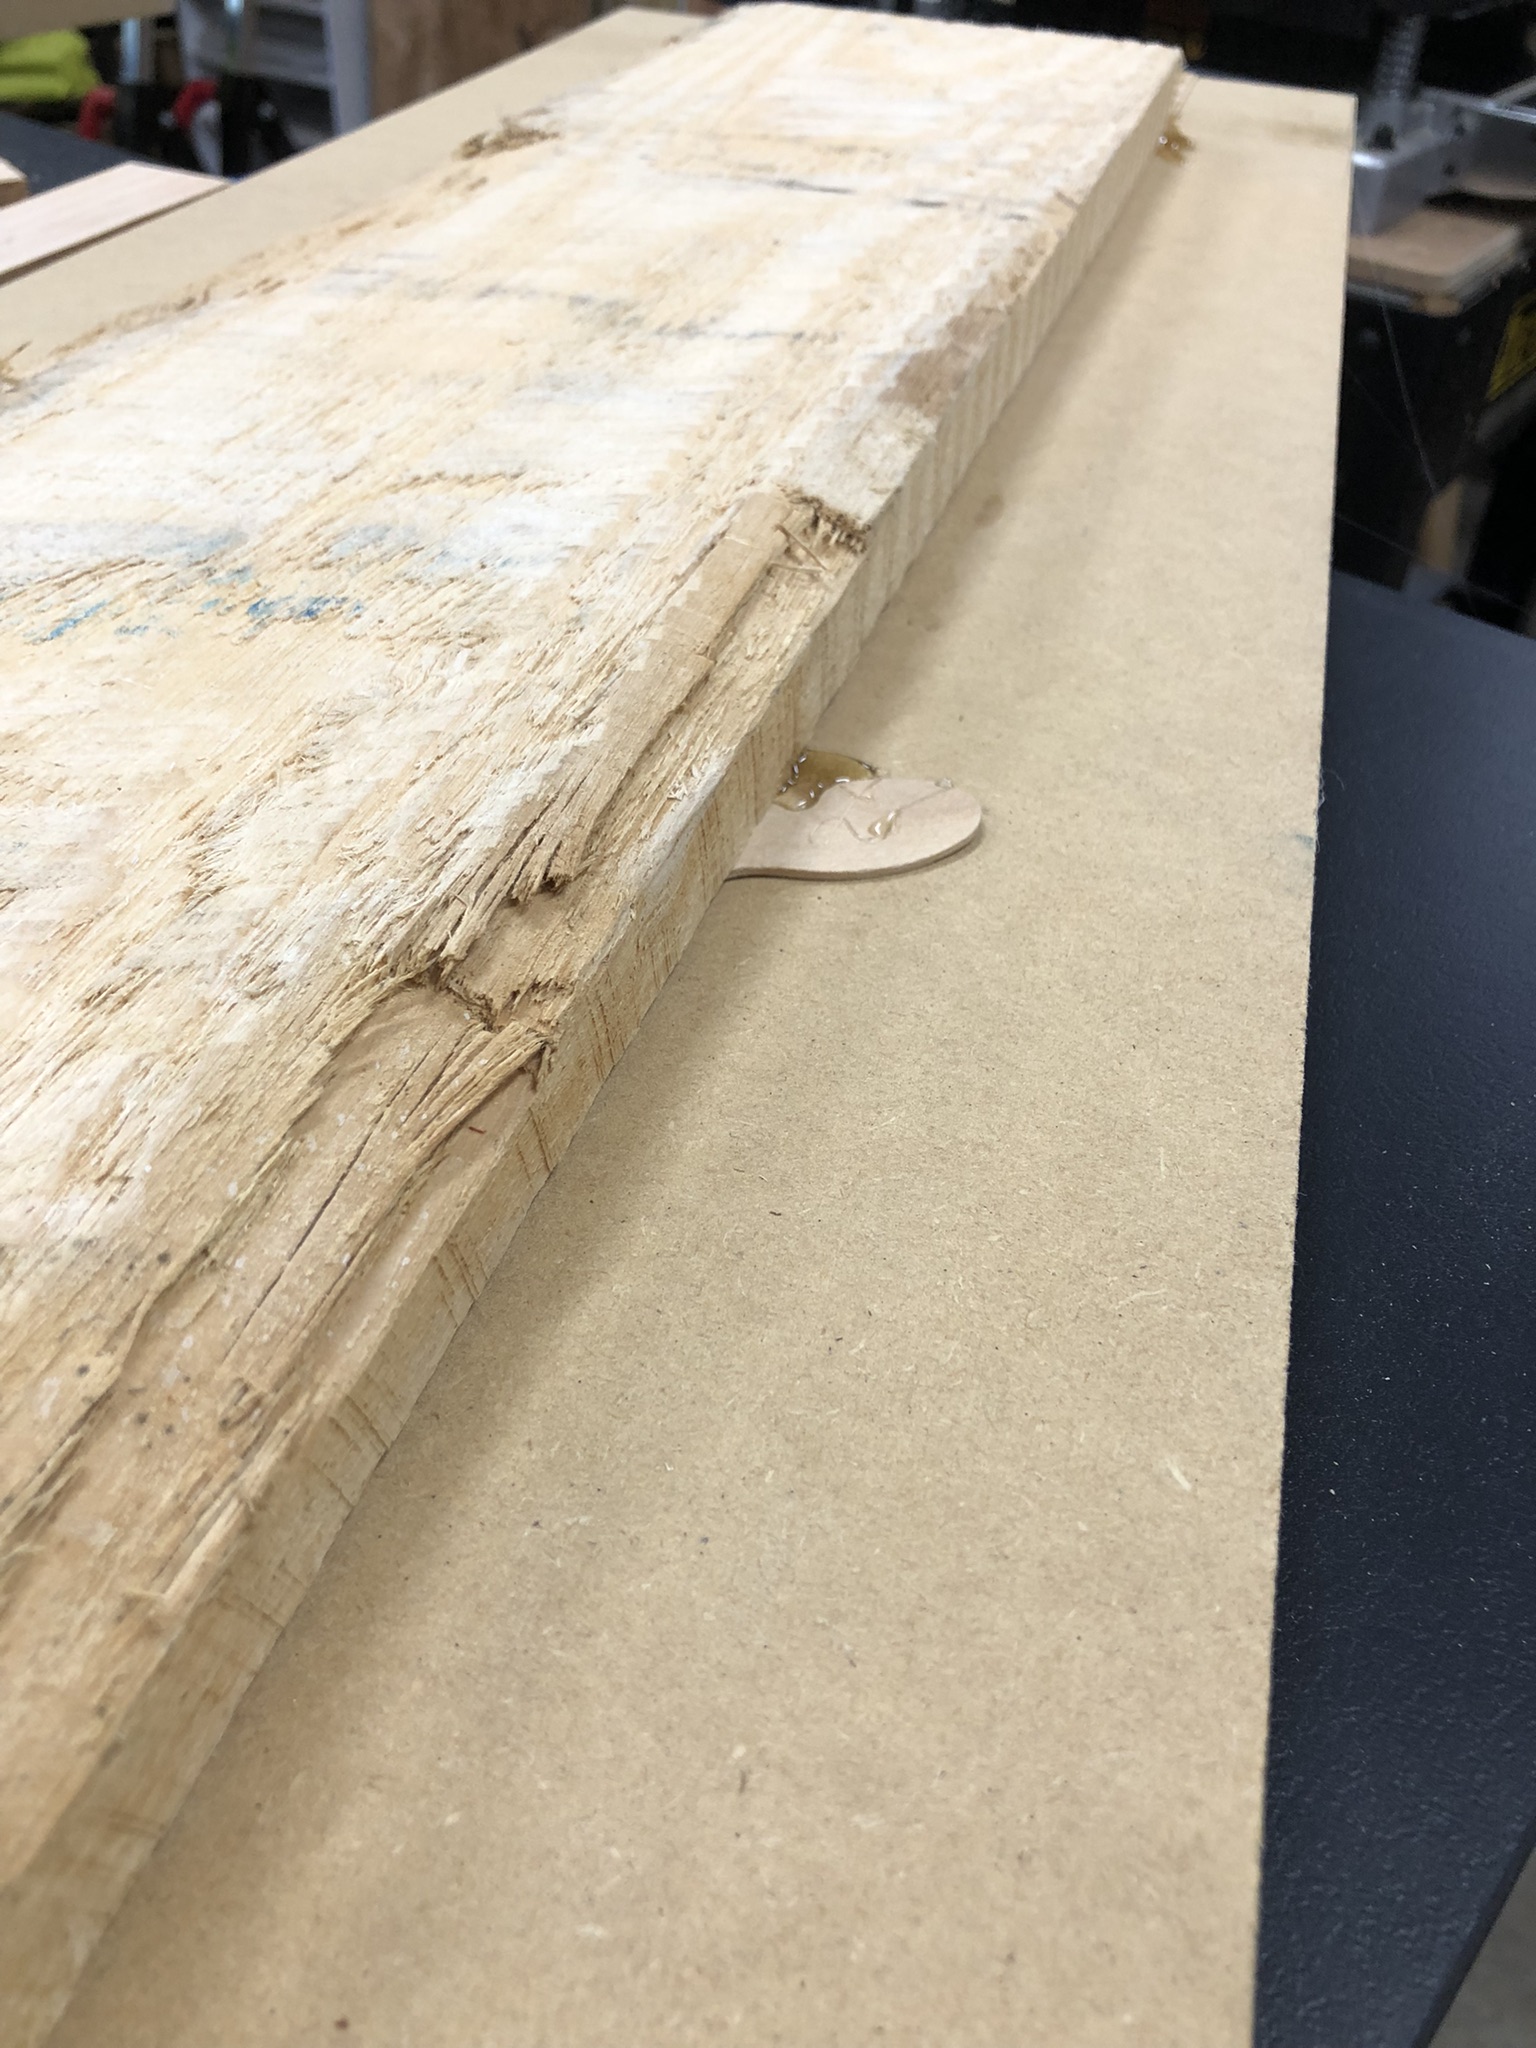
This is a closeup of the planing sled. Shims are placed under the board to keep it from rocking so the planer can create a flat face. The shims are held in place with hot glue which is easy to clean up.
This image shows a wider few of the planing sled to give a little better idea of what I am doing with it.
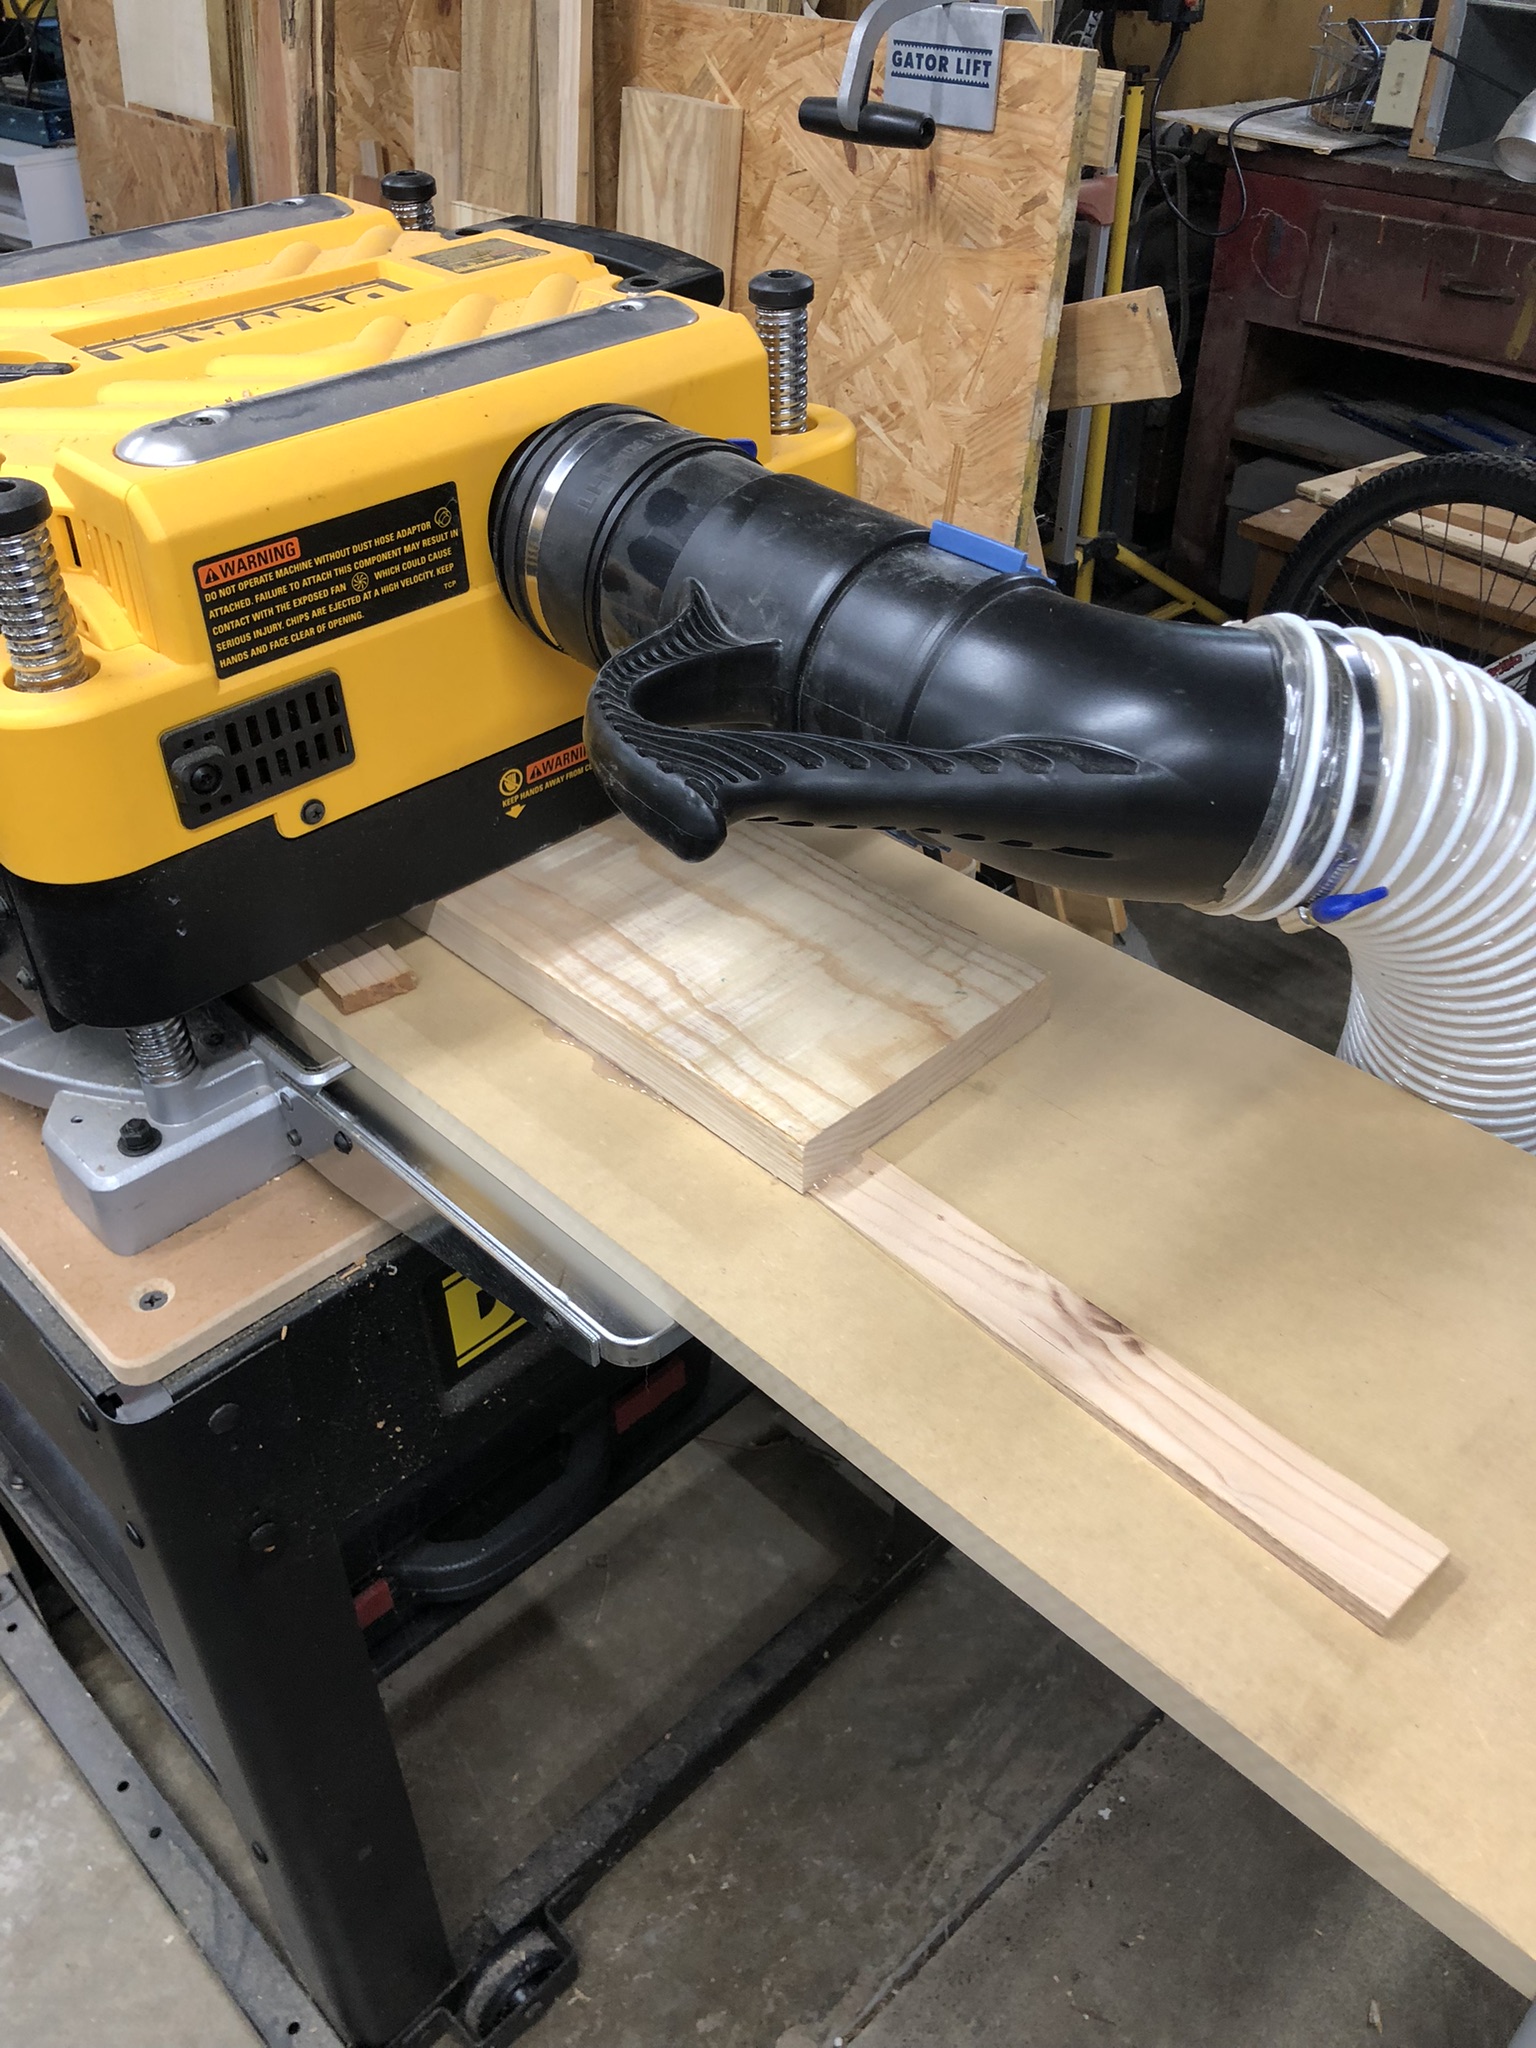
This image shows the sled with a board on it going through the planer to smooth one face. The board will then be removed from the sled, flipped over, and run through again to flatten the opposite face.
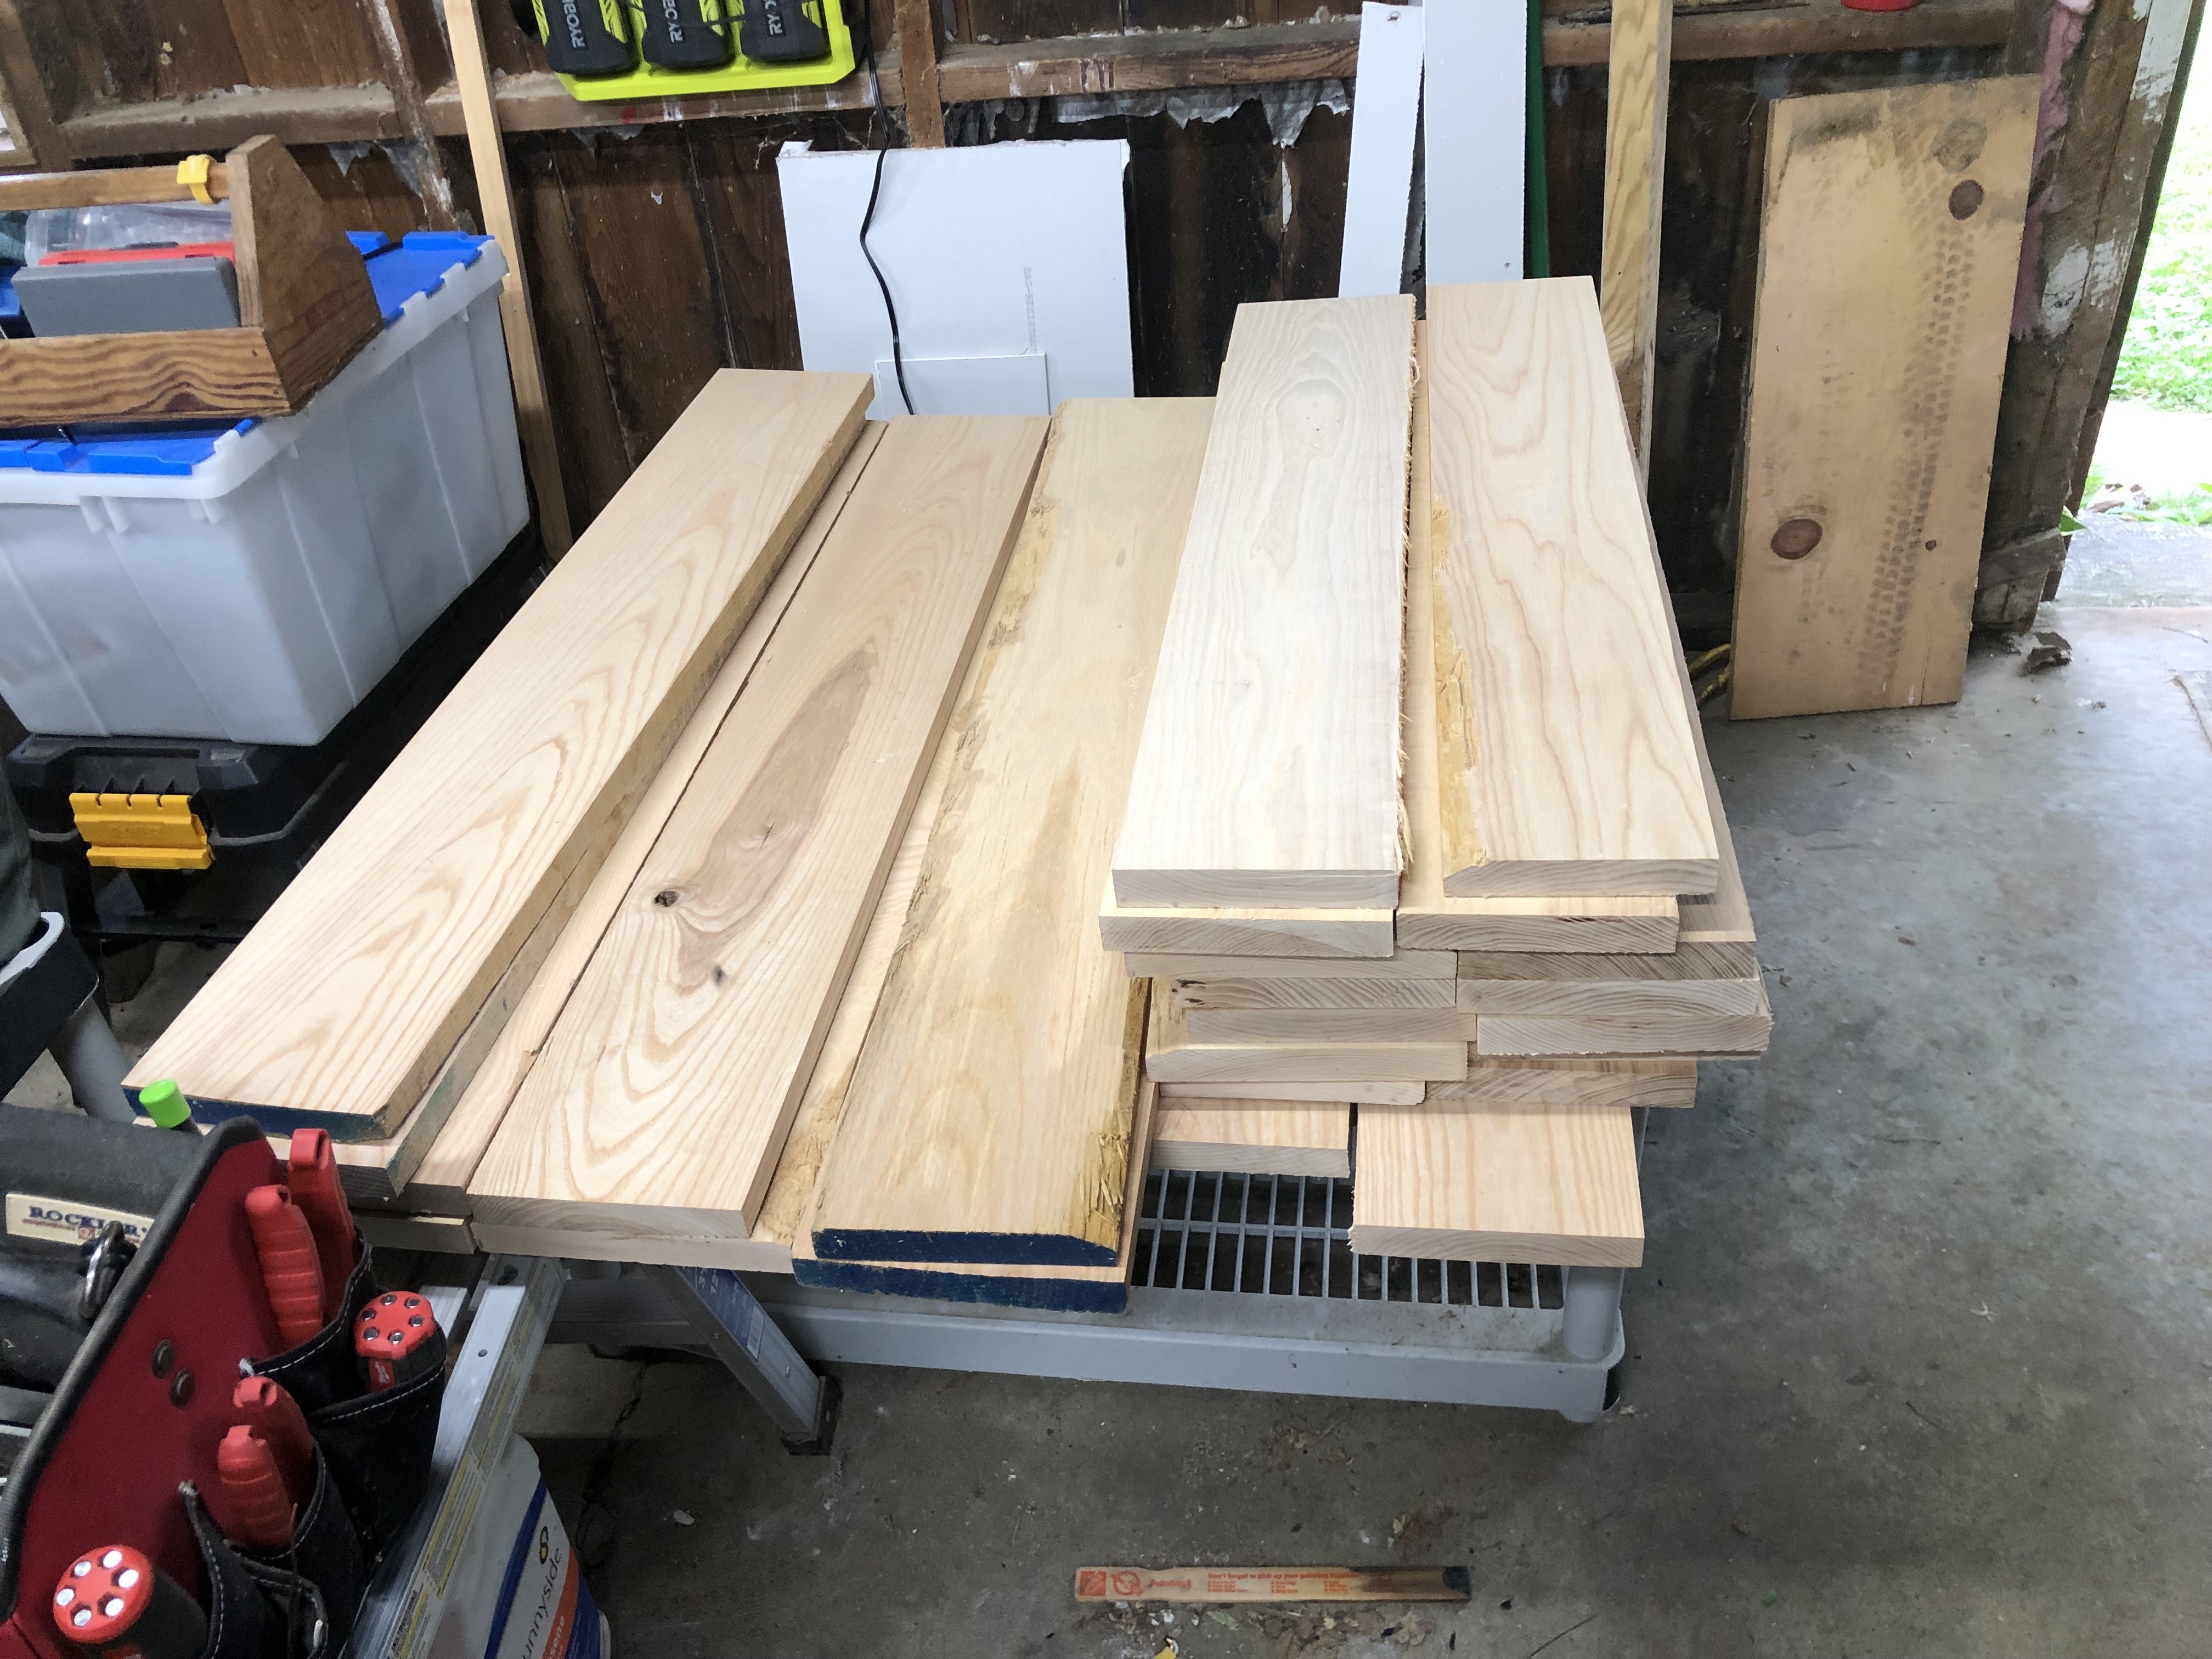
This image shows the planed boards ready to cut to size. Notice the face is smooth but one edge is still rough and needs to be cut off to trim the board to the proper width.
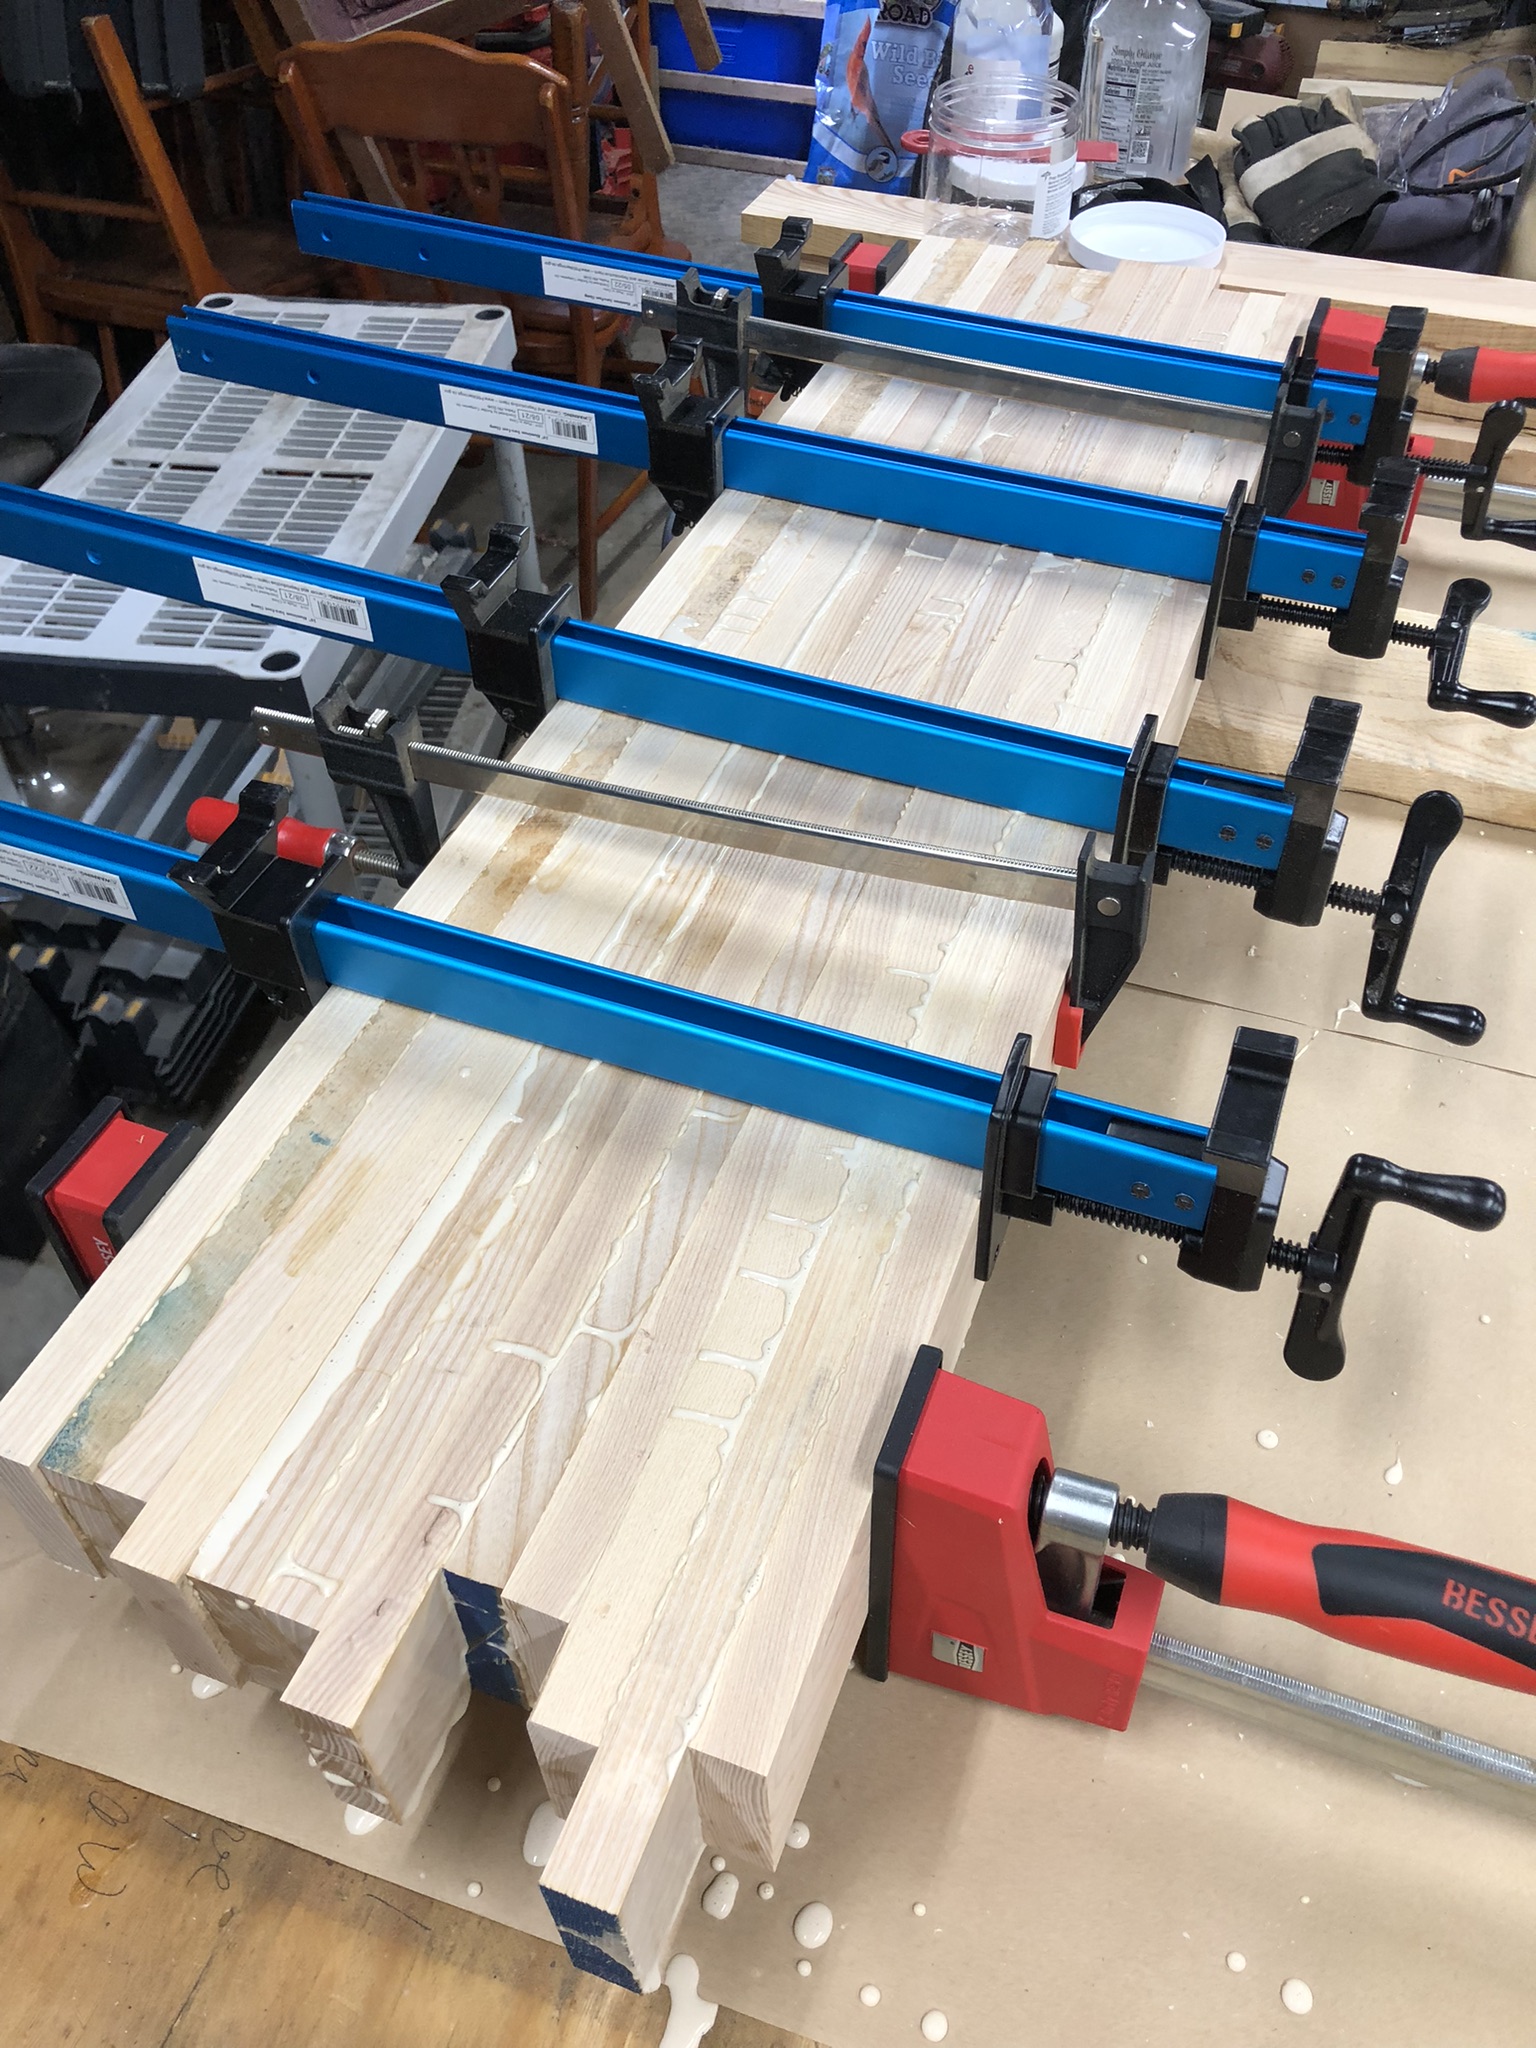
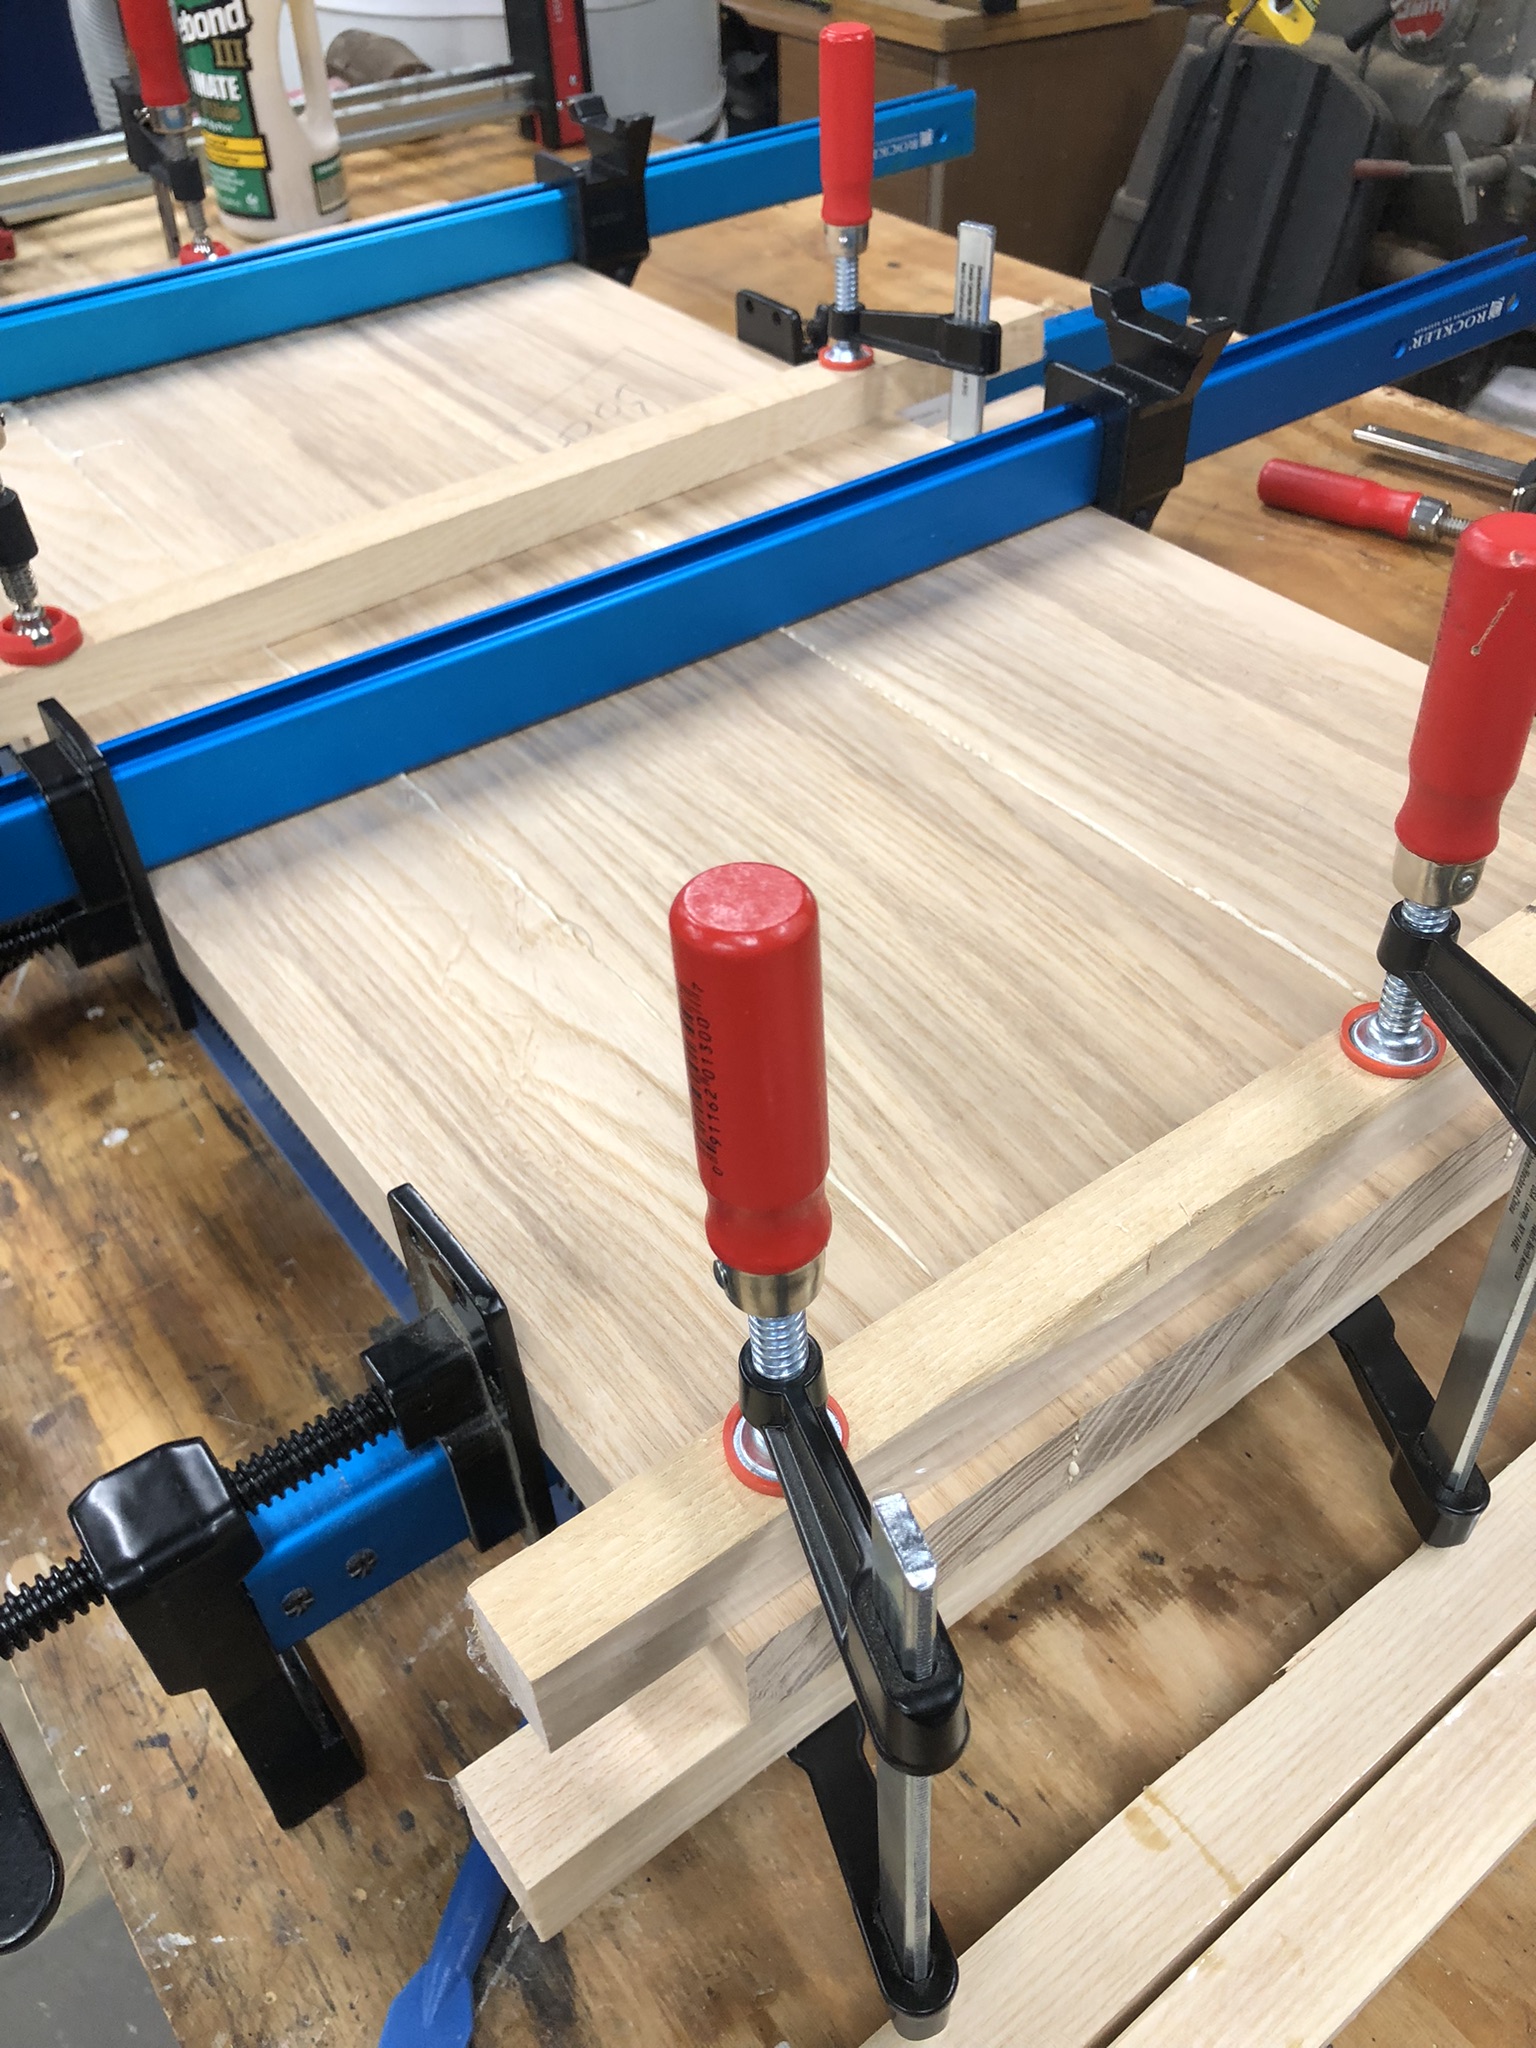
Glueing up blanks to make the legs. I didn't have any boards thick enough to make the legs so I glued up some blanks to get the thickness I needed.
I placed all four leg blanks in clamps together to save clamps. You really need to be careful to alternate the legs so you don't glue them together when doing it this way.
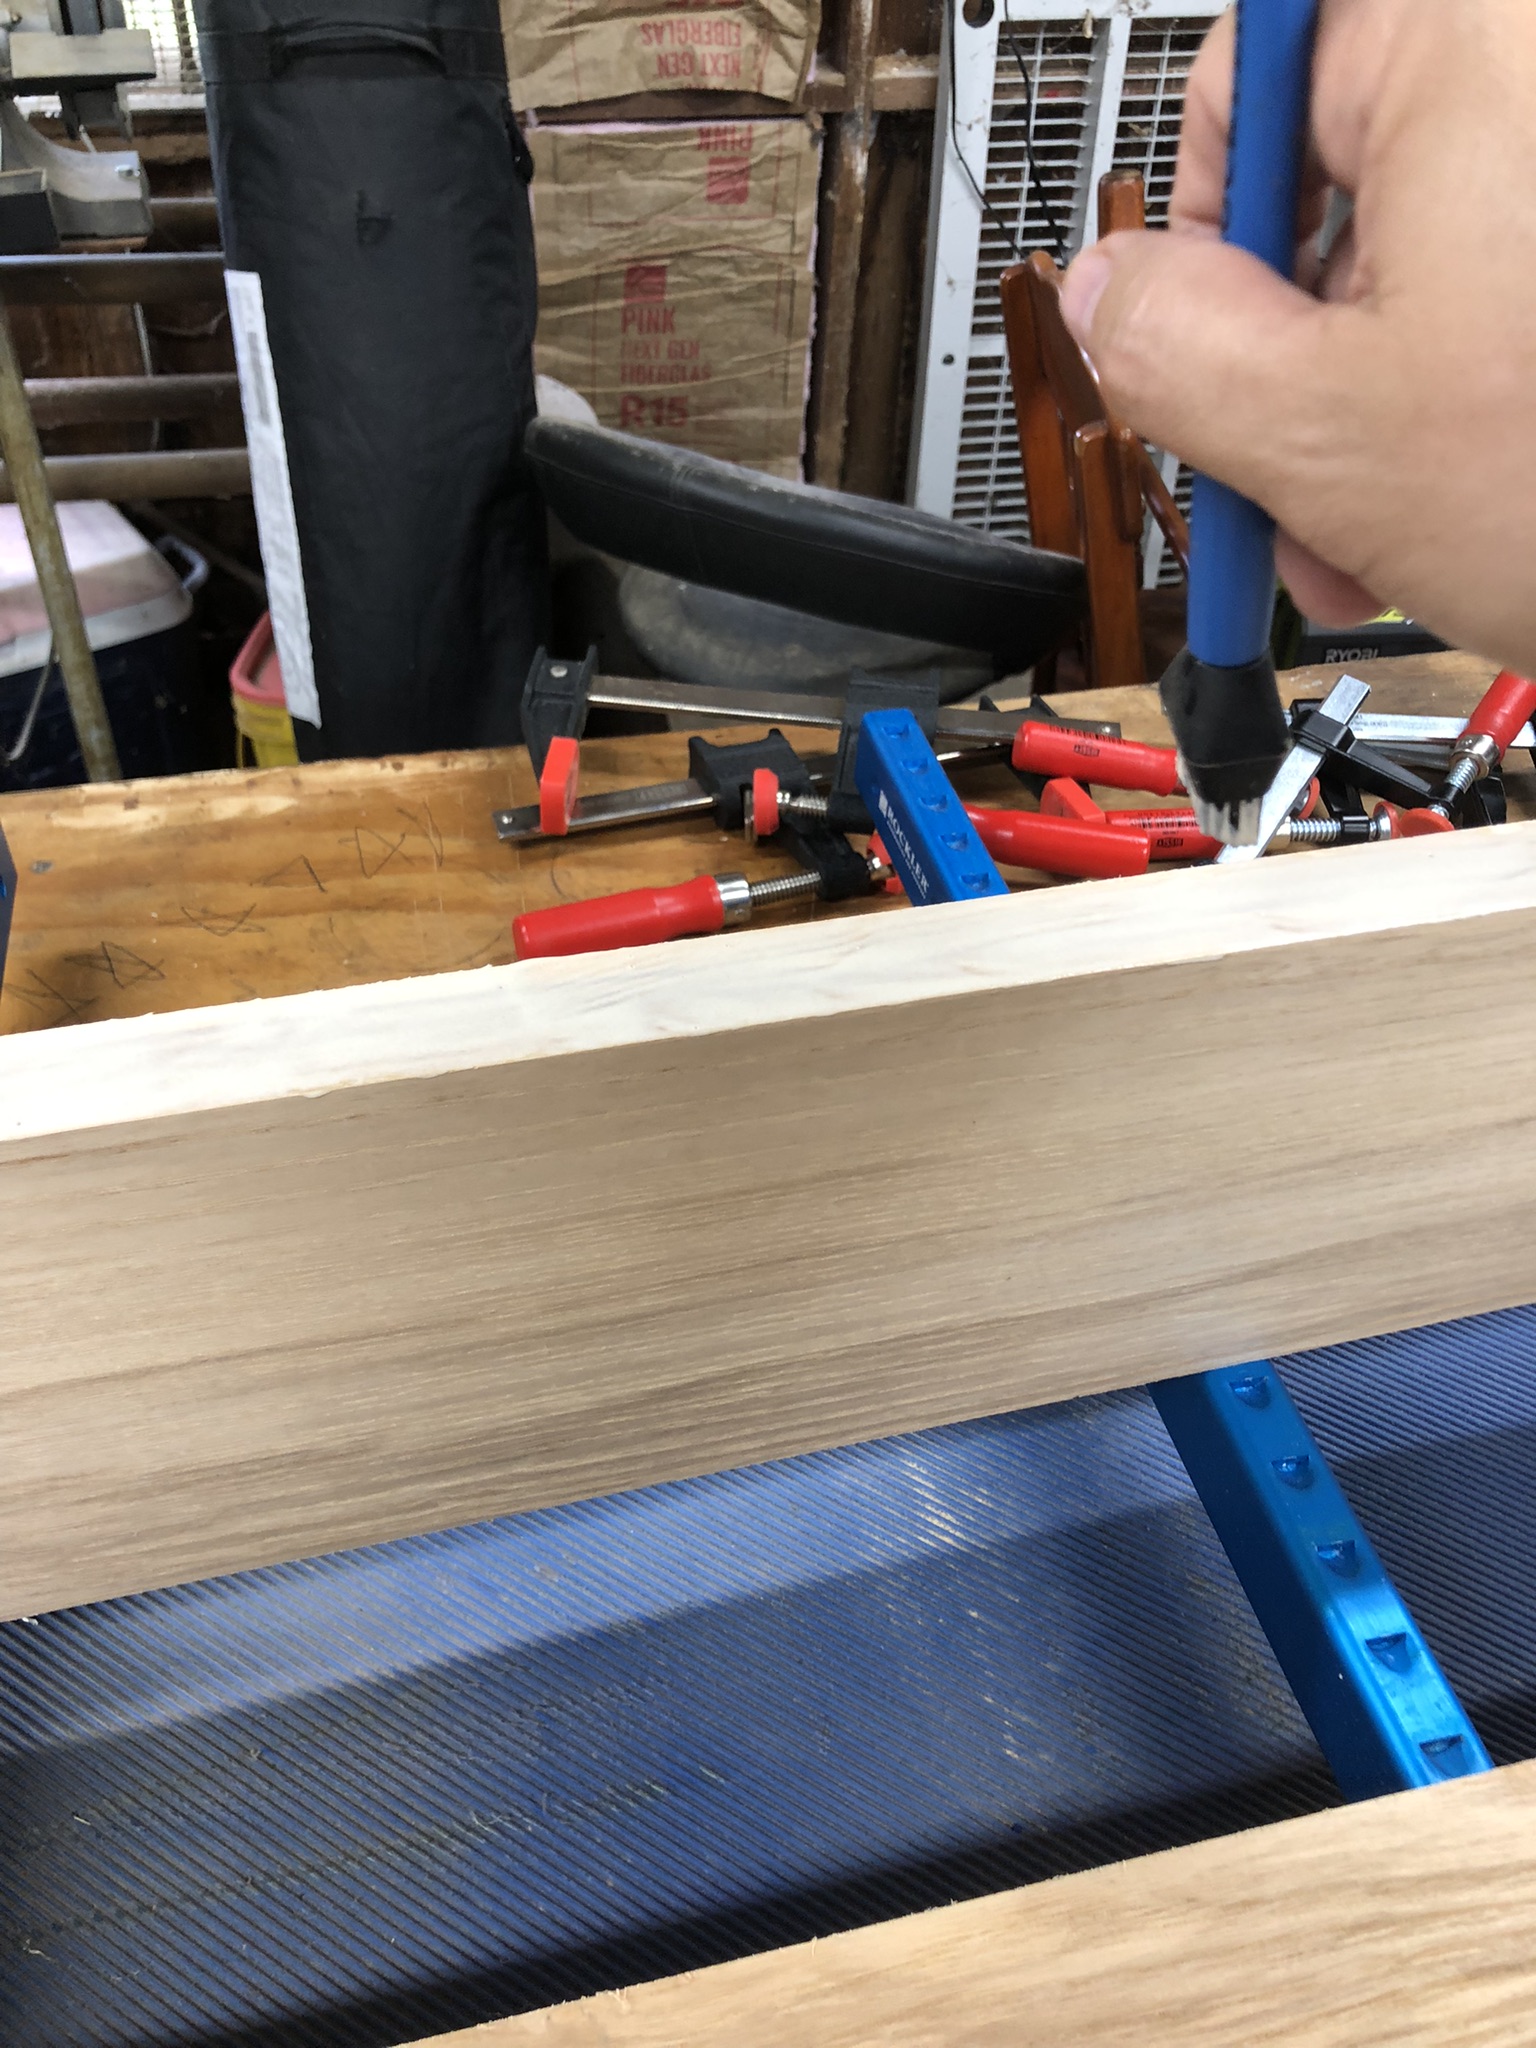
Applying glue to the first board of the back panel of the album stand.
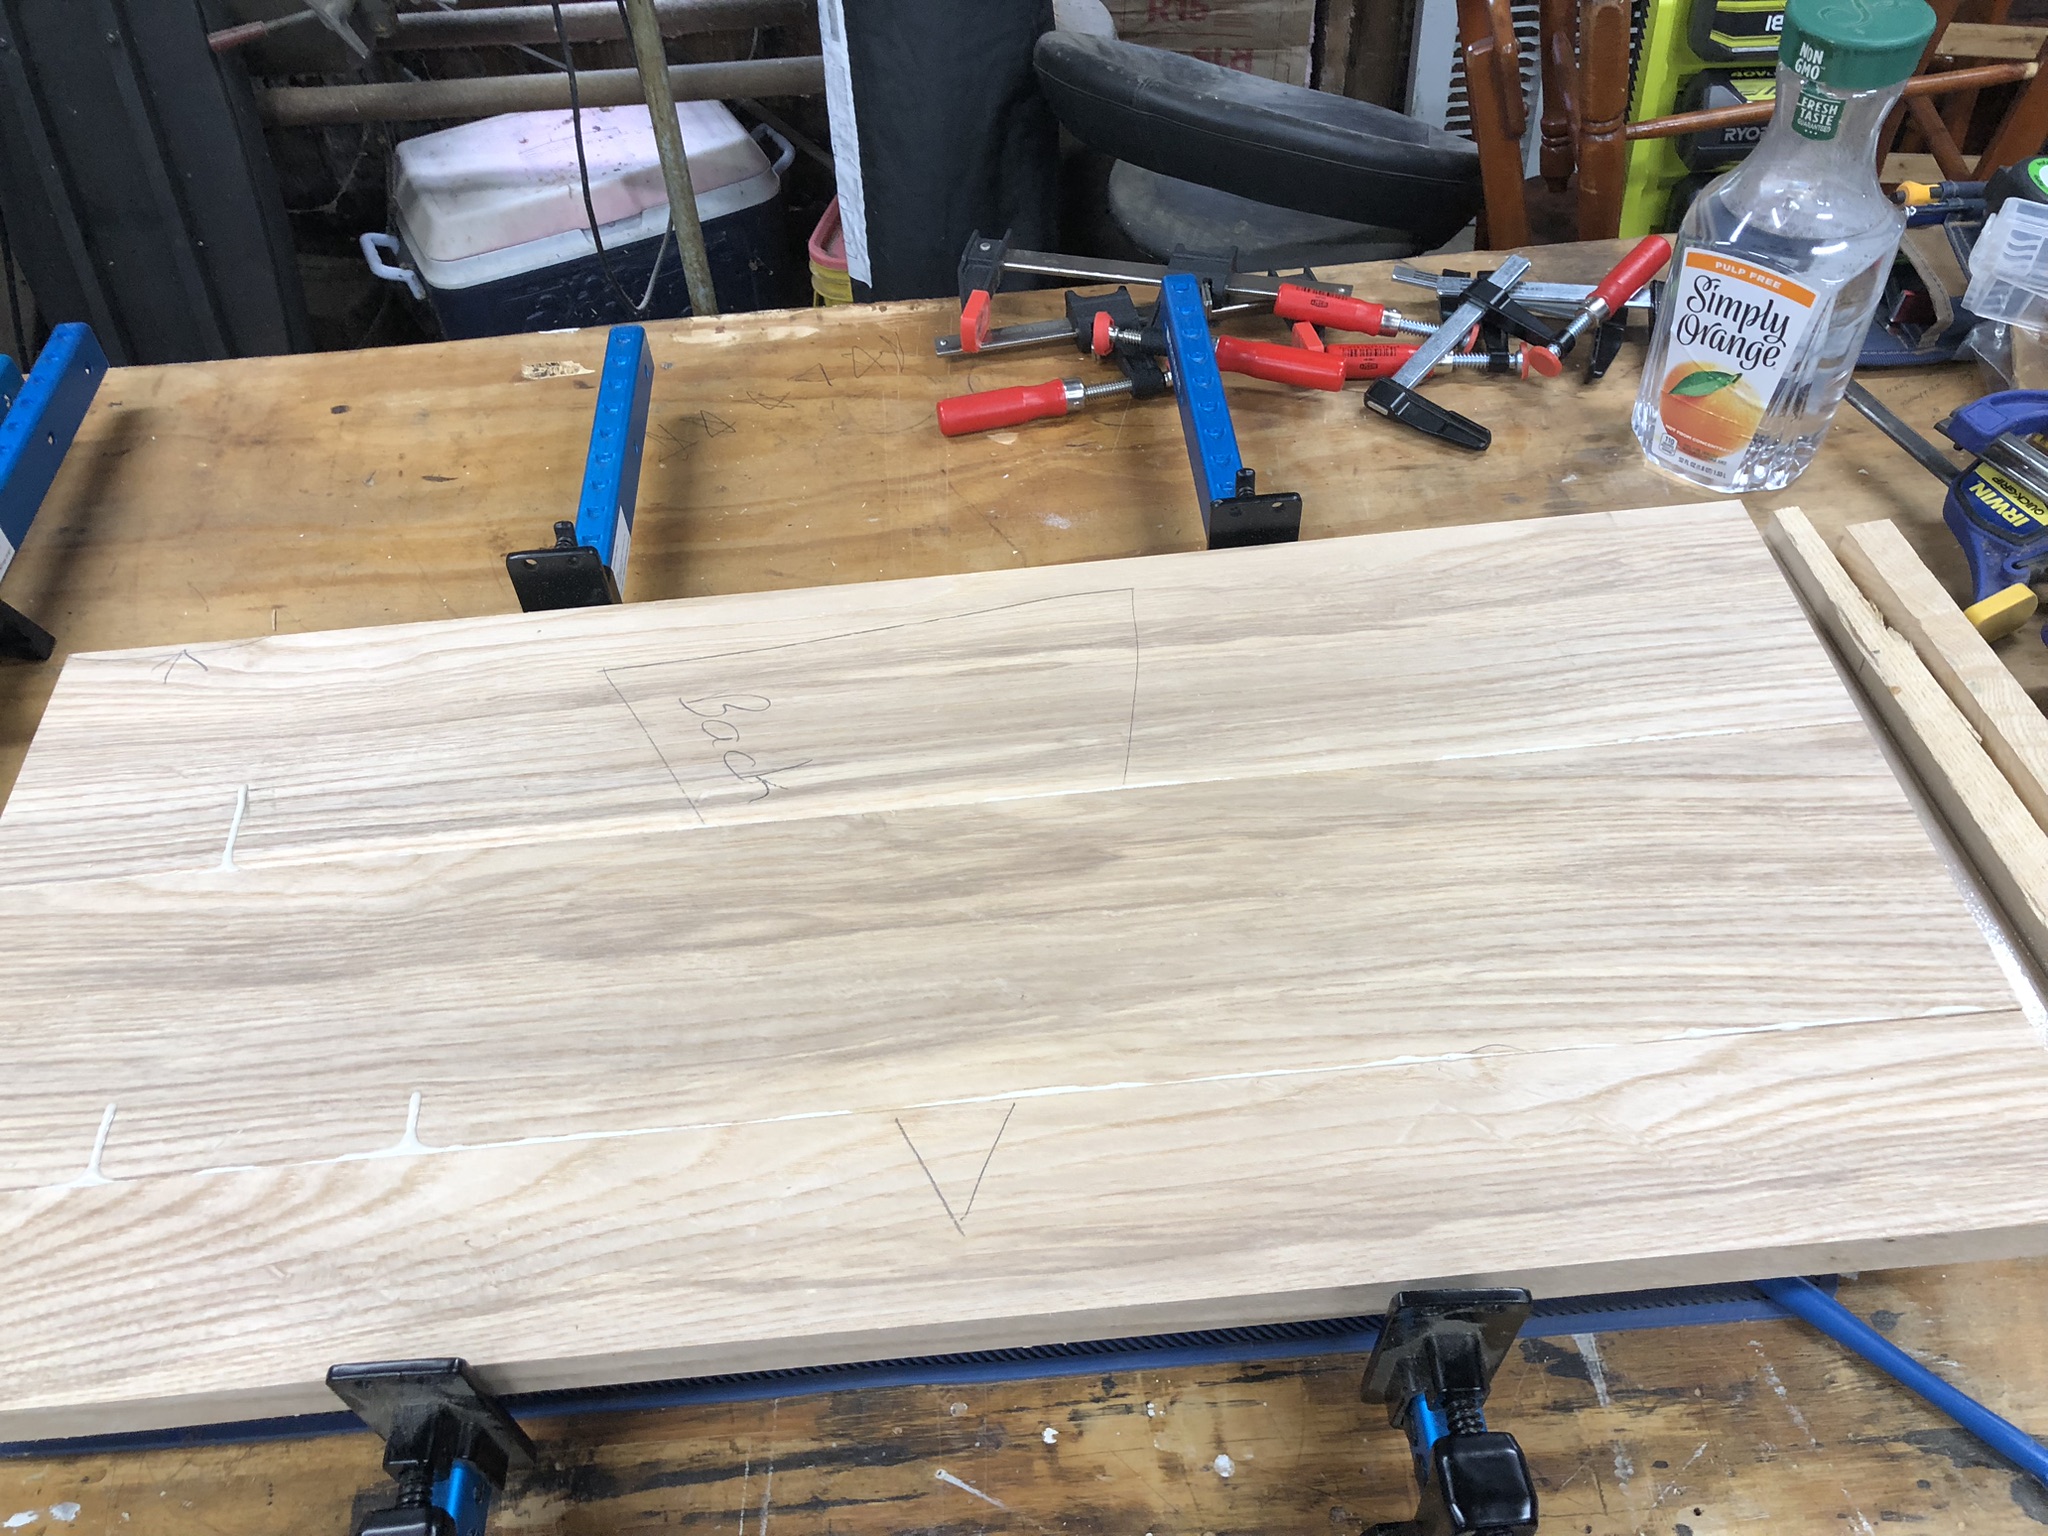
Three boards glued up to get the right height for the back panel. Not sure why the middle board doesn't have the cabinetmaker's triangle on it. I think I flipped it at the last moment for some reason. It's been too long since I took this picture.
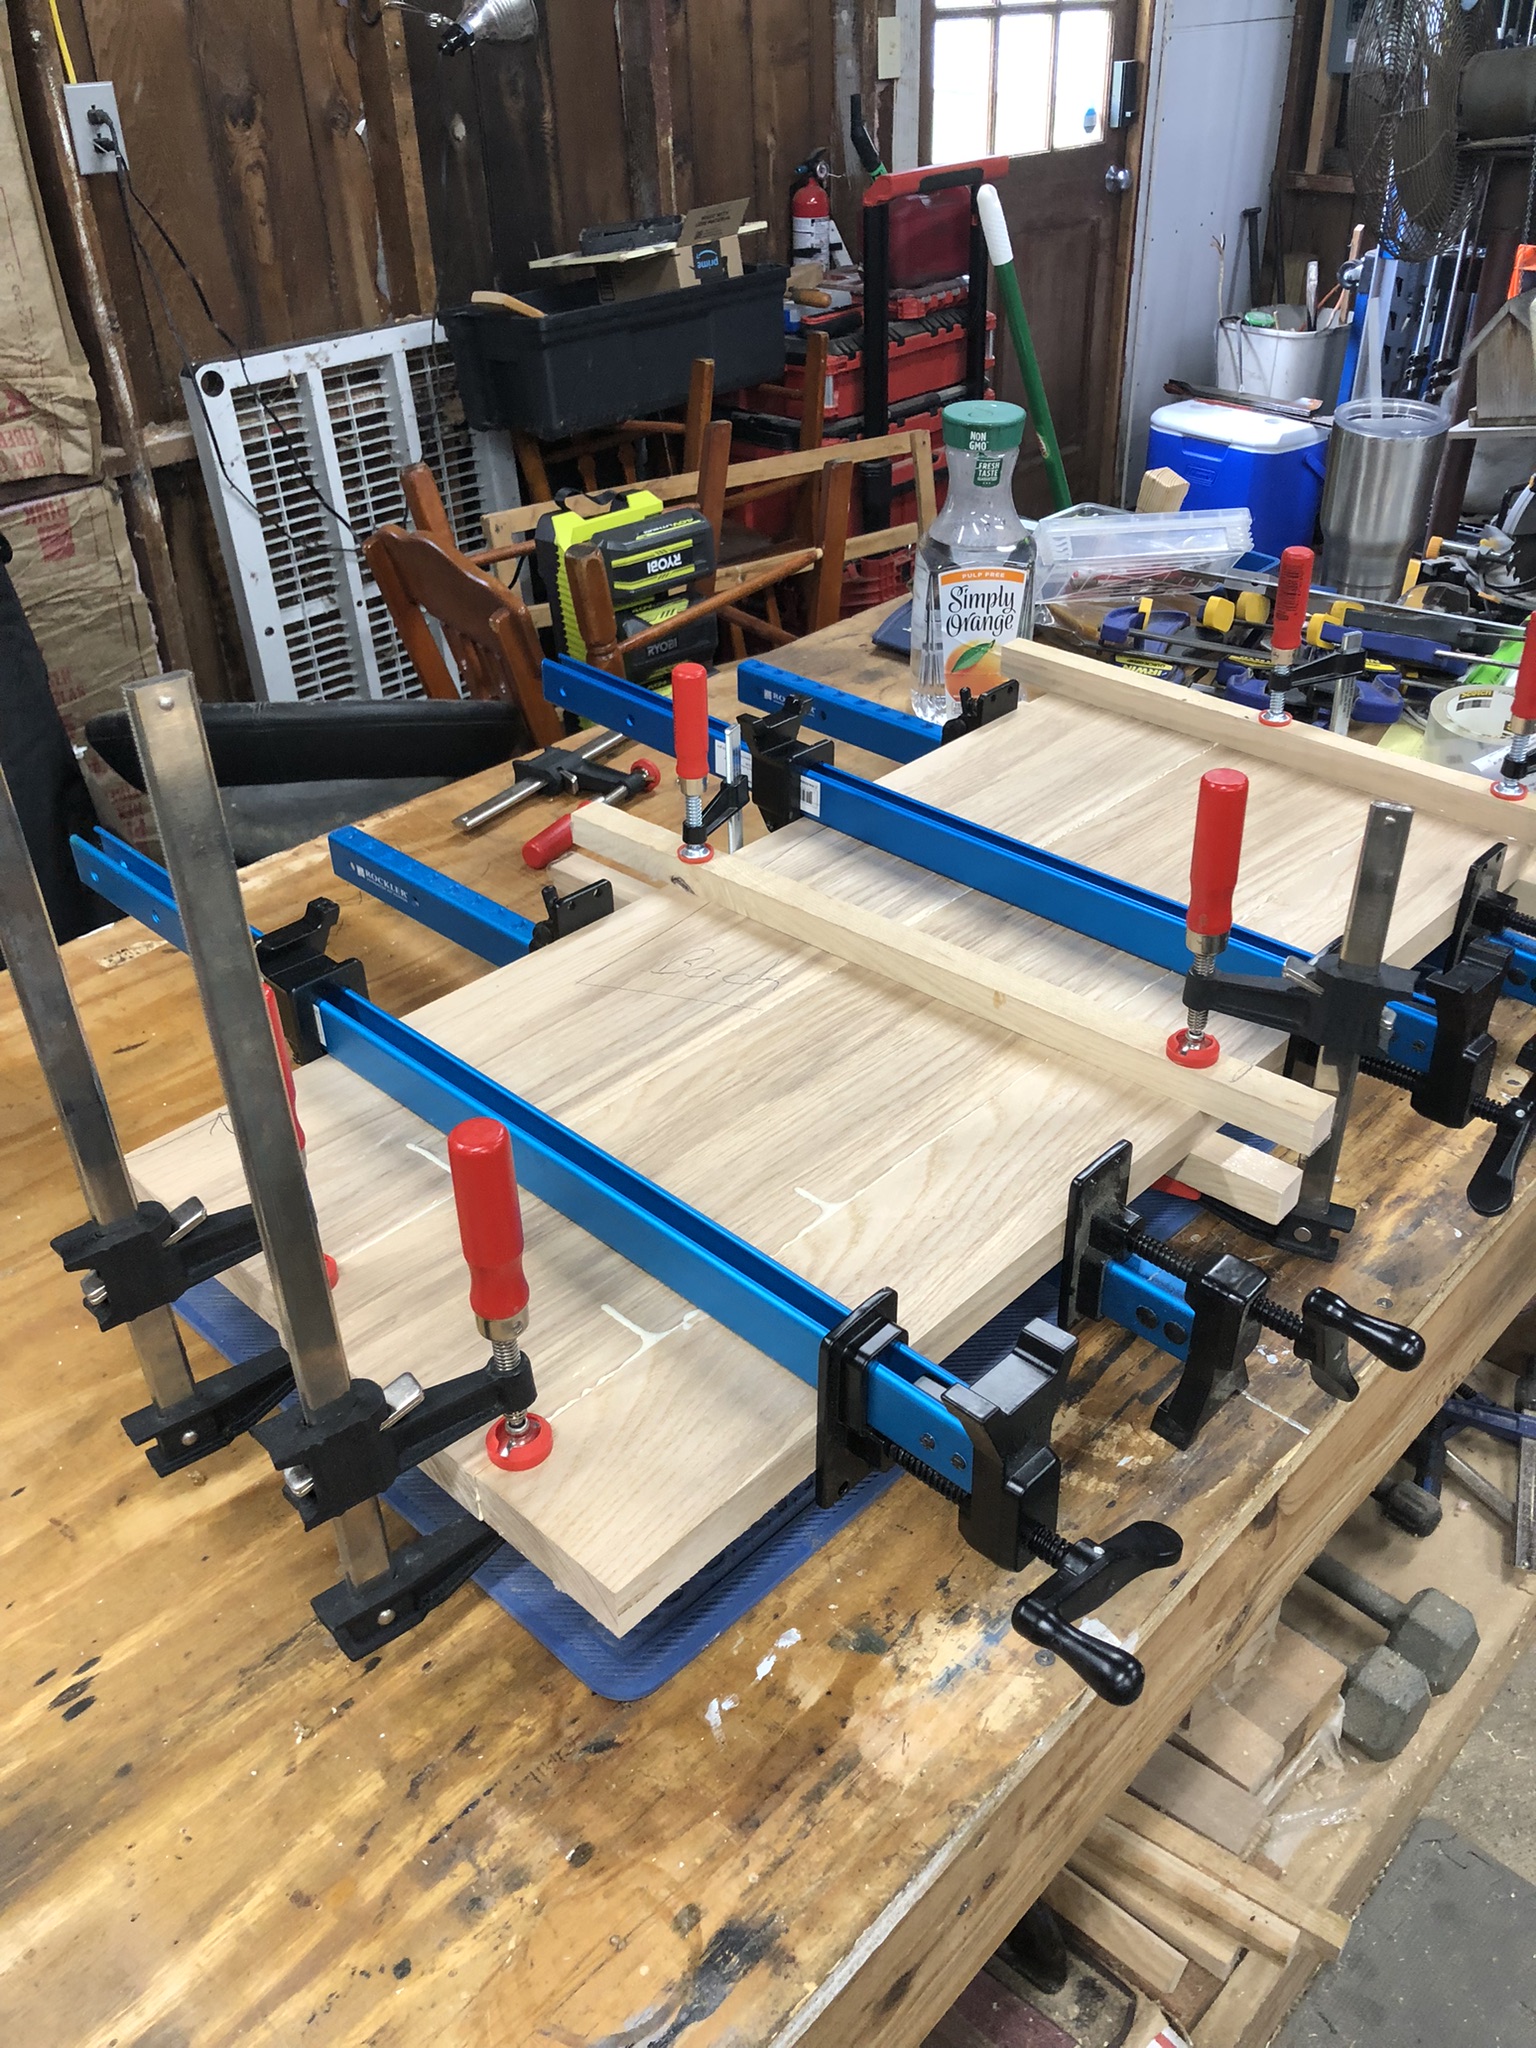
I added extra clamps to make sure they are flat. I also placed cauls on top and bottom to help keep them flat while the glue dries.
Close up of the caul on one end.
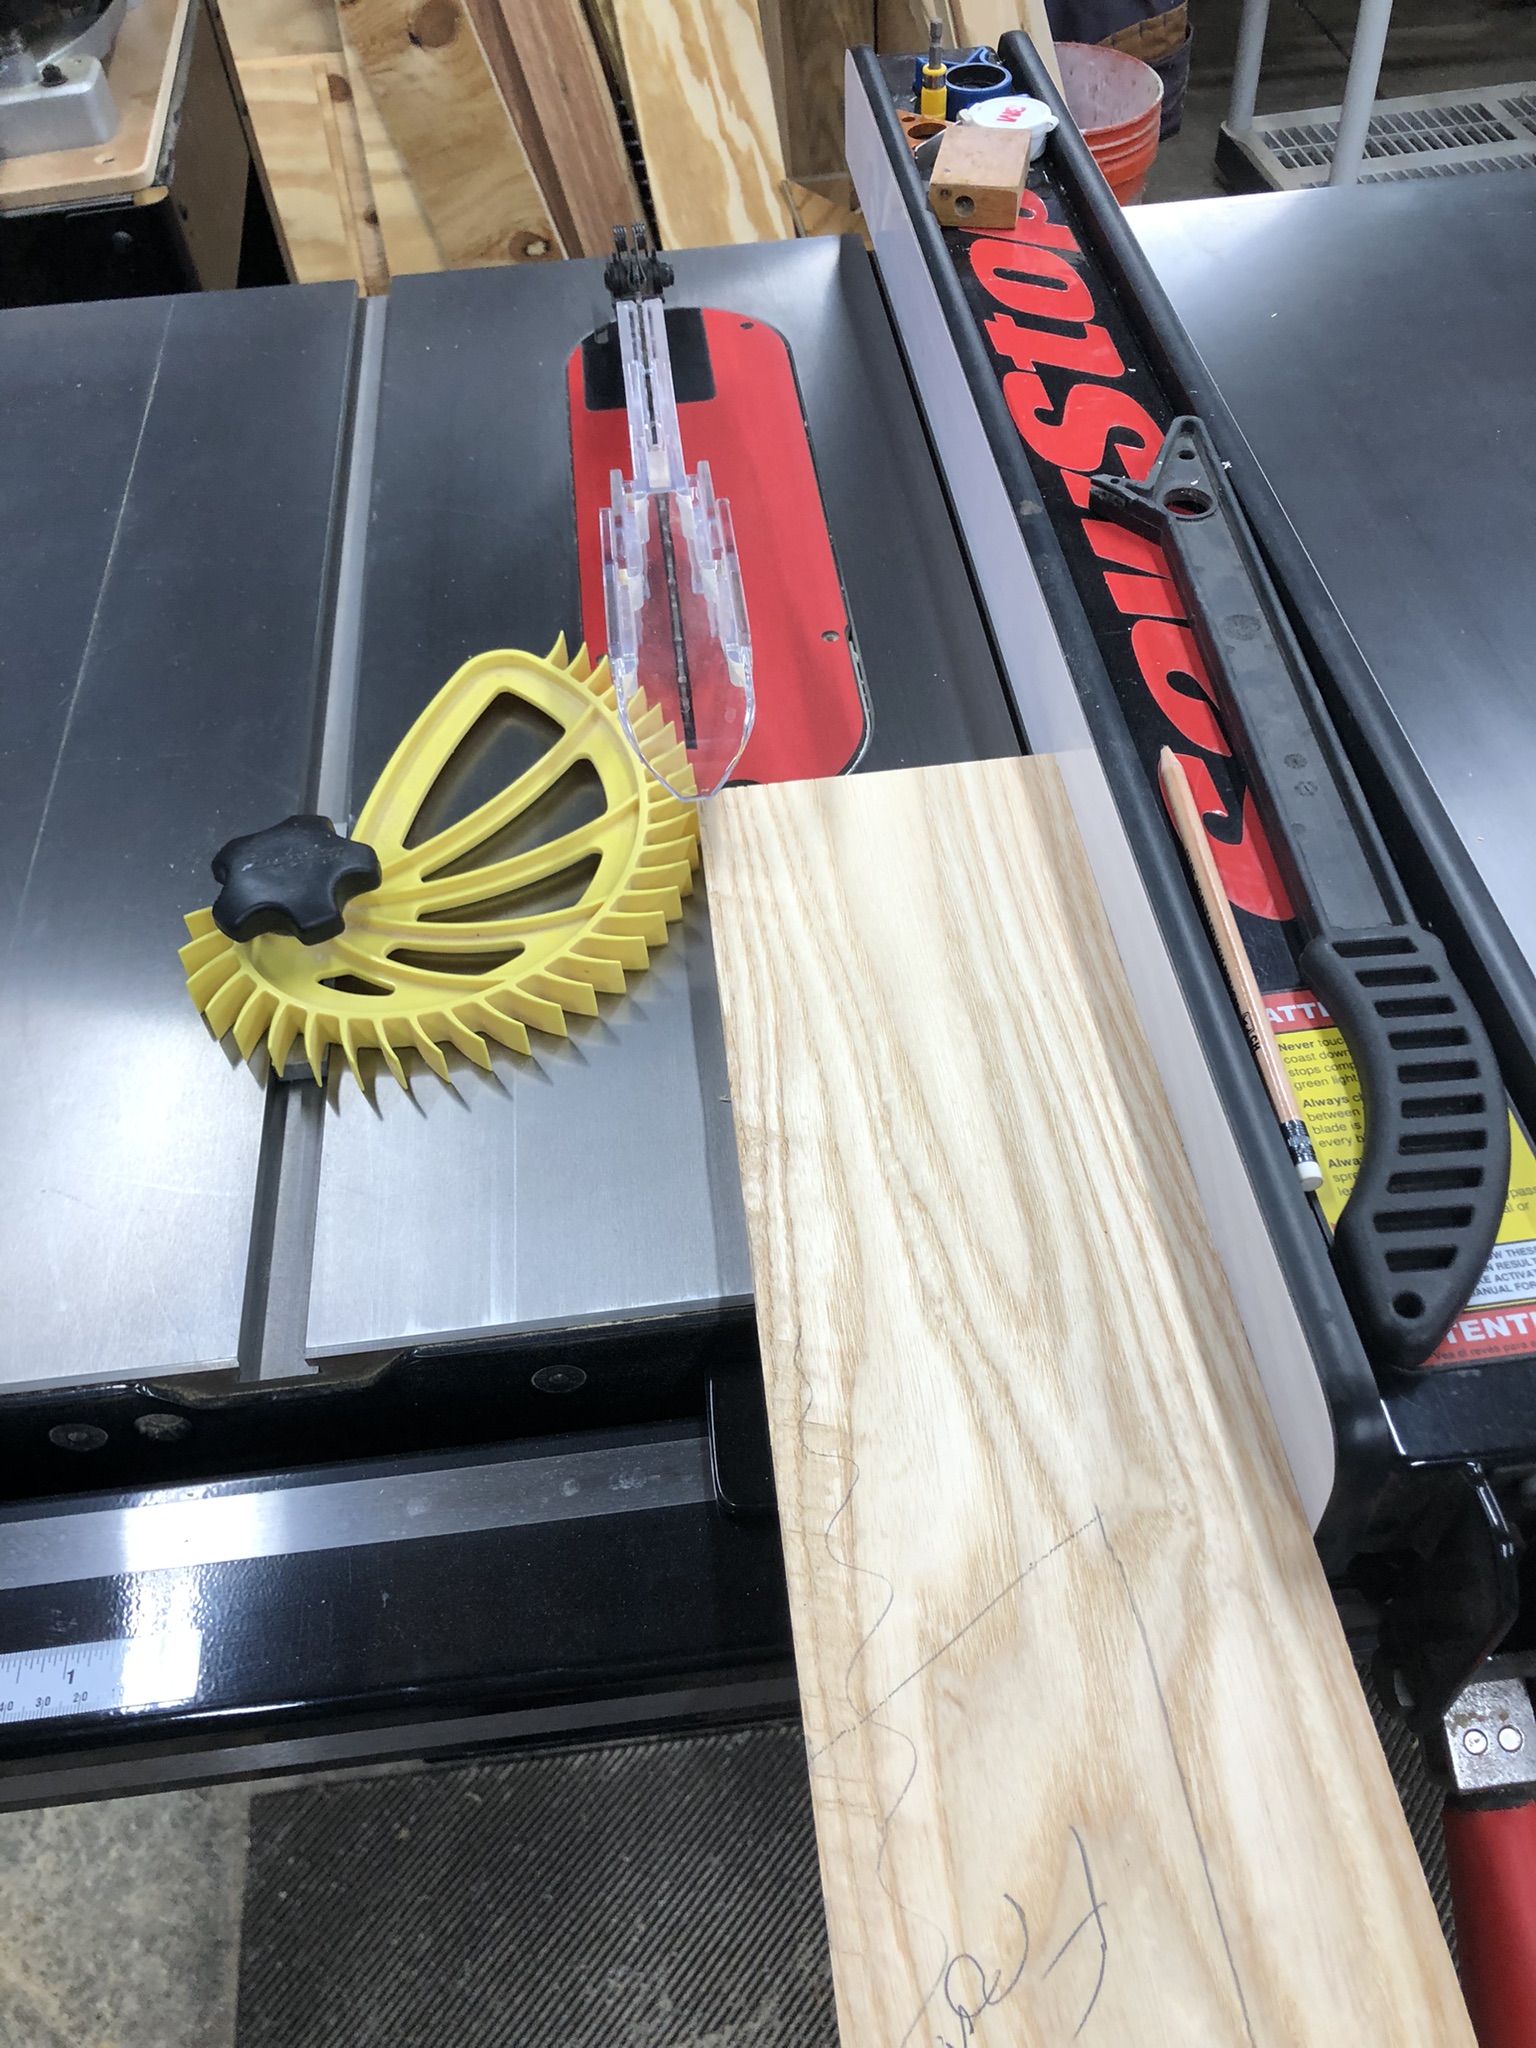
Back to the table saw to trim one of the front boards to final width. Using a Hedgehog featherboard to keep it tight to the fence.
Front and sides glued up. Back must still be in the clamps. (These pictures are not necessarily in order.) Leg blanks can be seen on the left side, waiting to be cut to final dimensions.
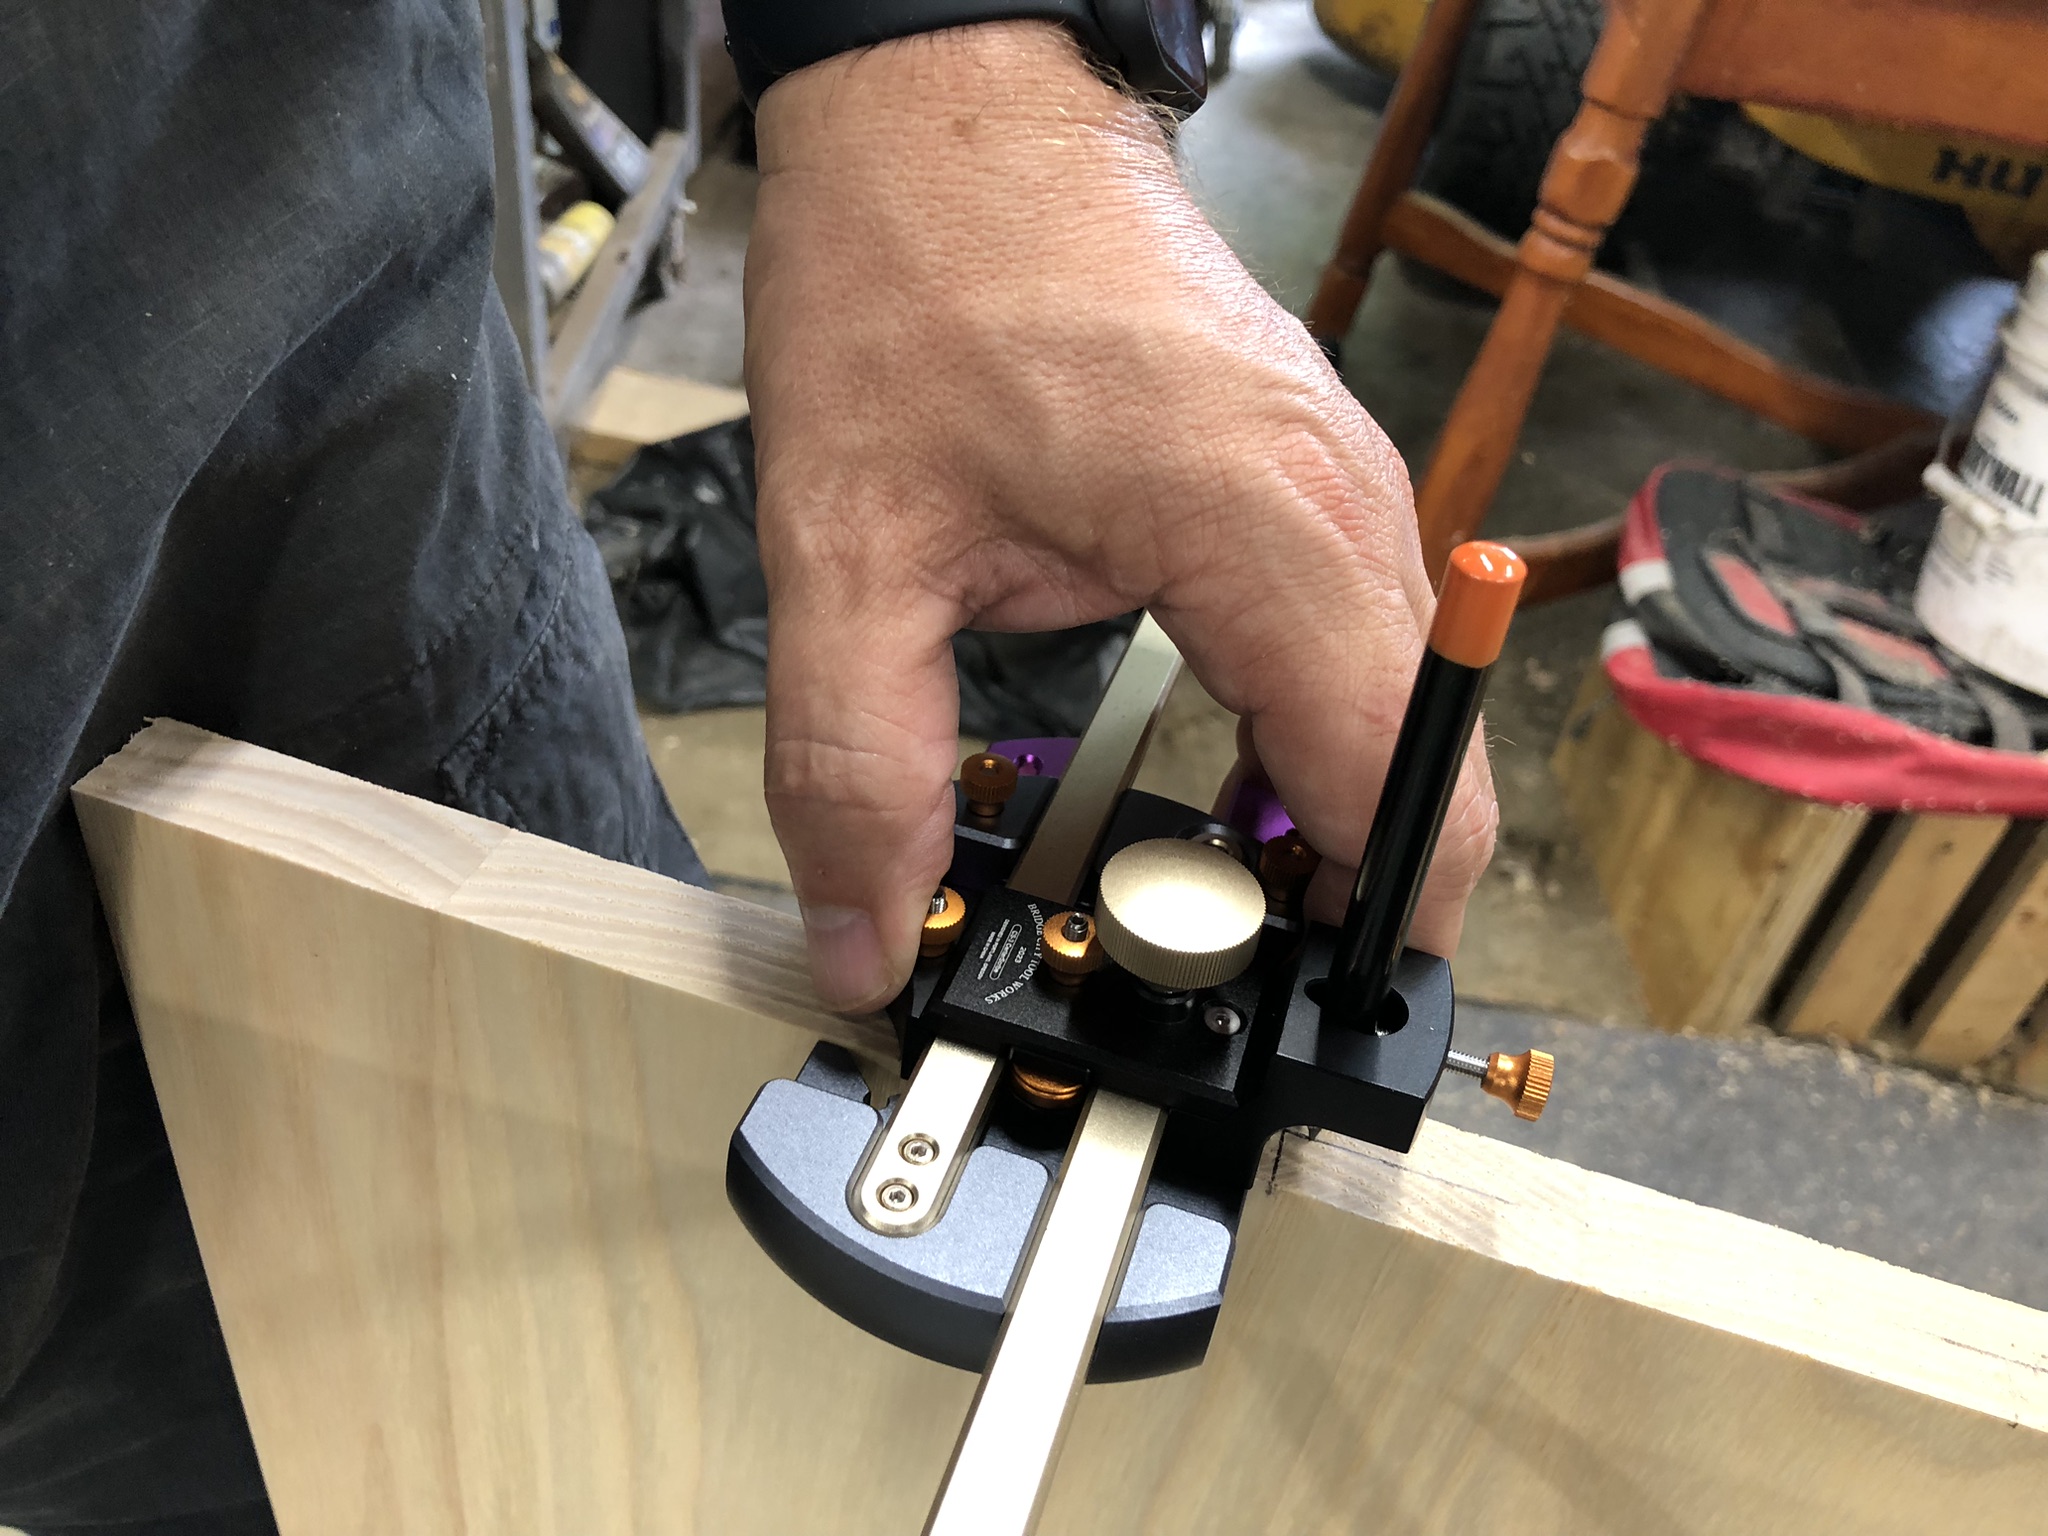
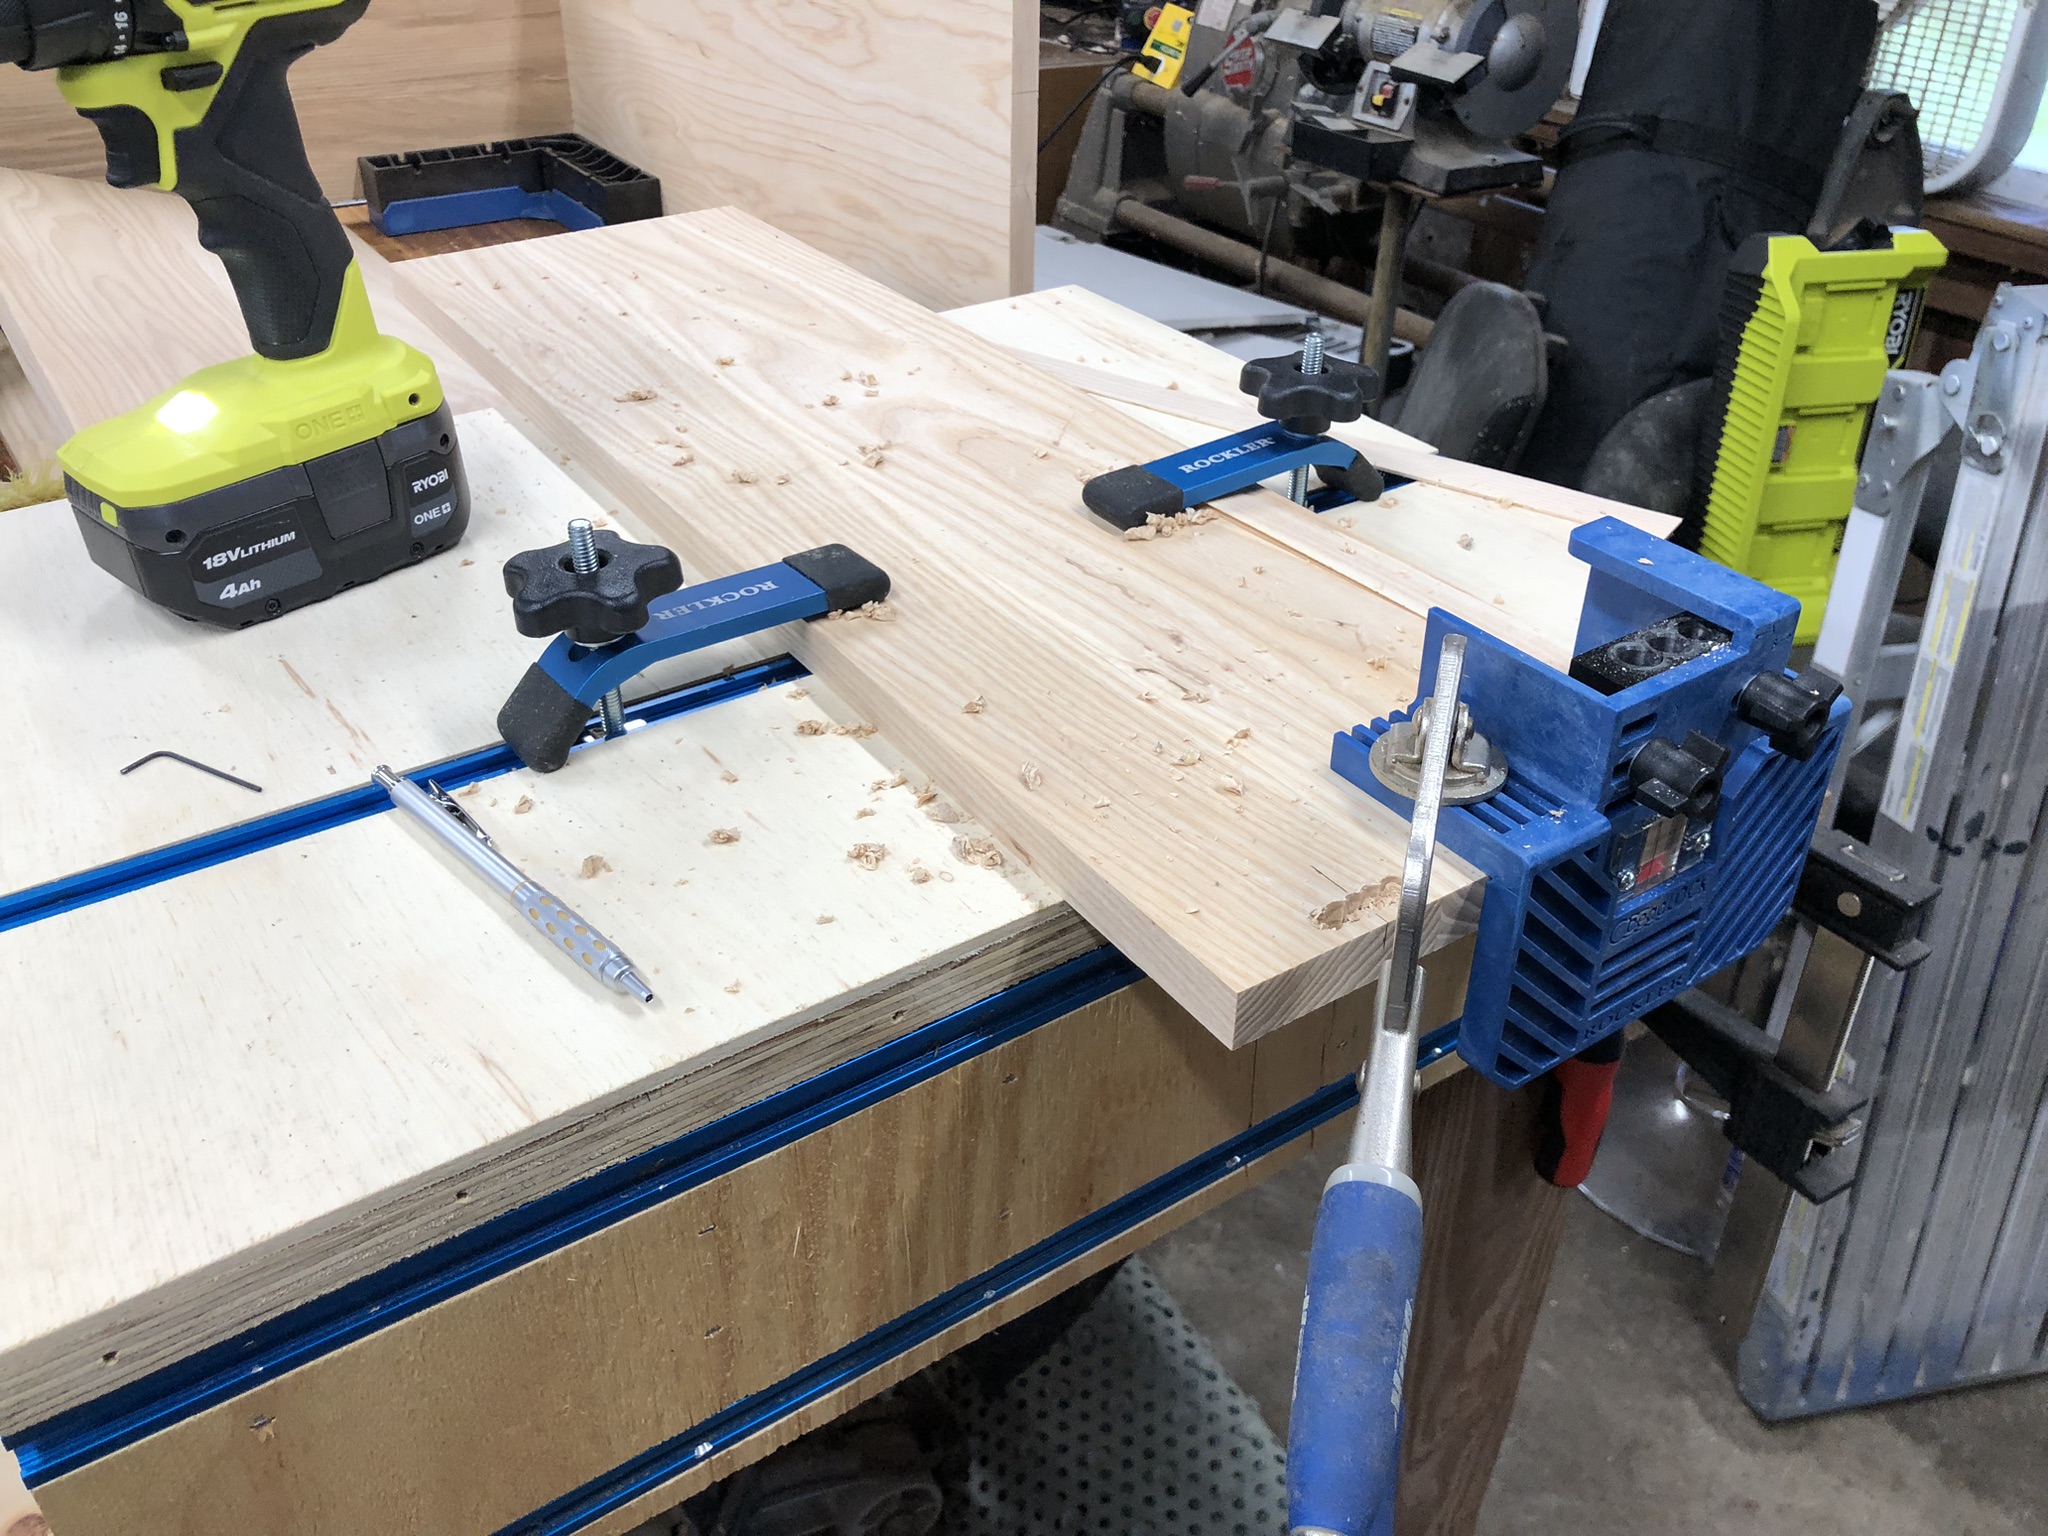
Using a center scribe tool to mark the centerline of the board to prepare for joining.
Using the Rockler Beadlock system to create loose tenons for strong joints. First time using it. It took a little fiddling to get the hang of it.
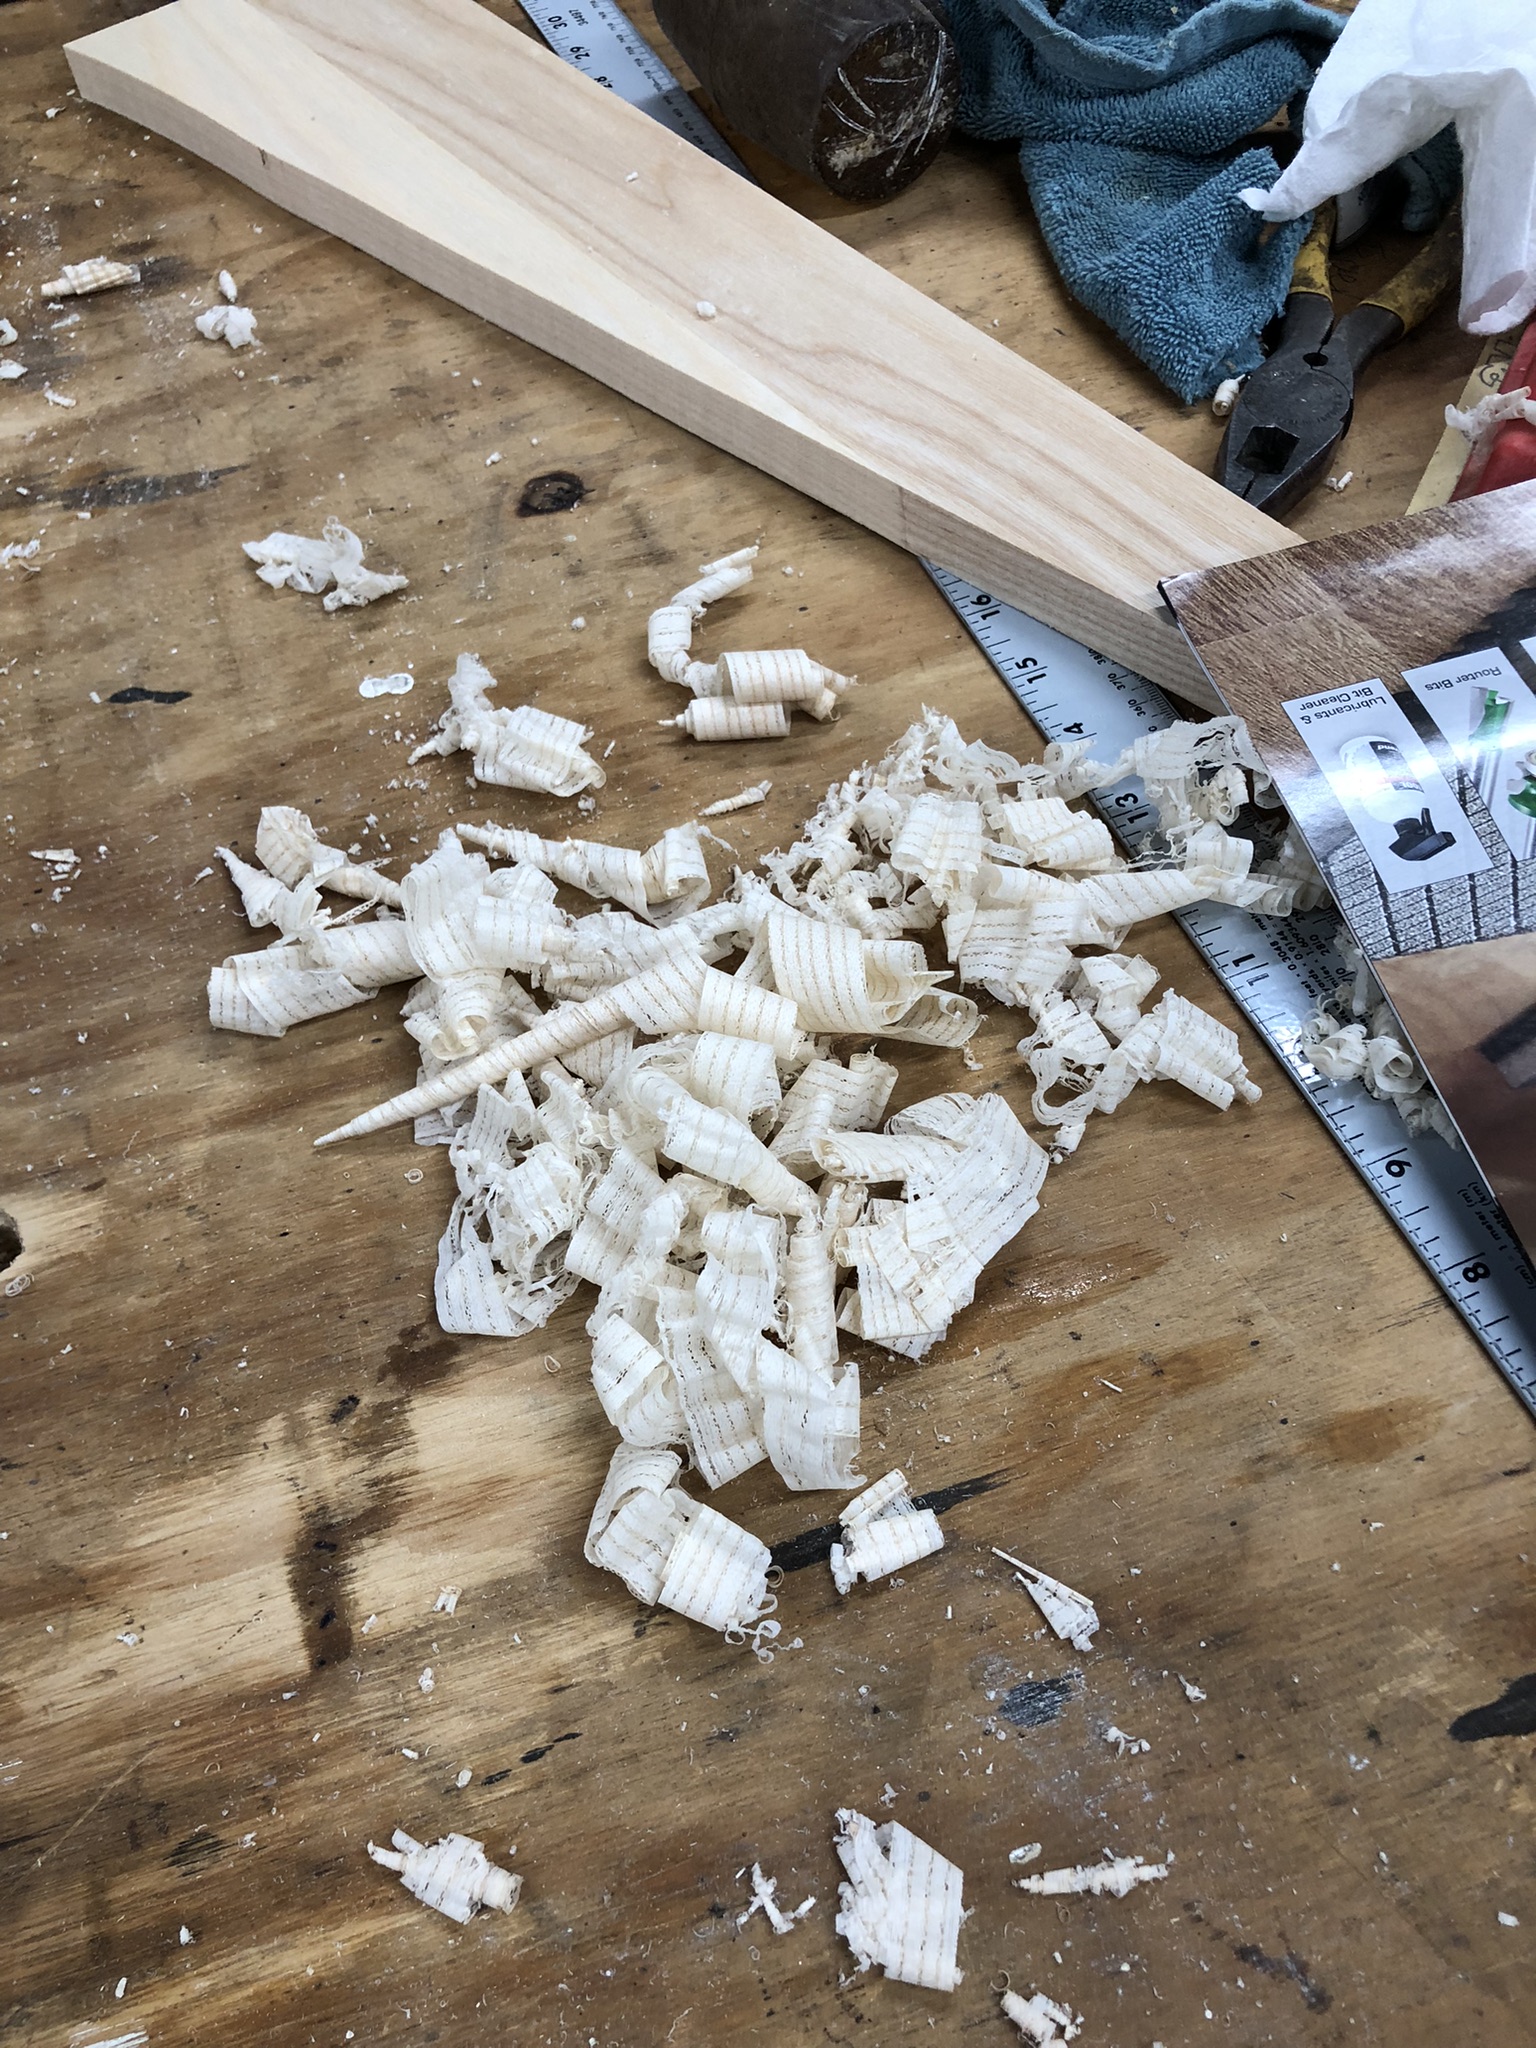
I don't use hand tools a lot but I needed to plane the edges of a board I cut on the bandsaw. It left too rough of an edge to try to sand.